Old-Fashioned Apple Butter Recipe: Easy Stovetop Method With No Pectin
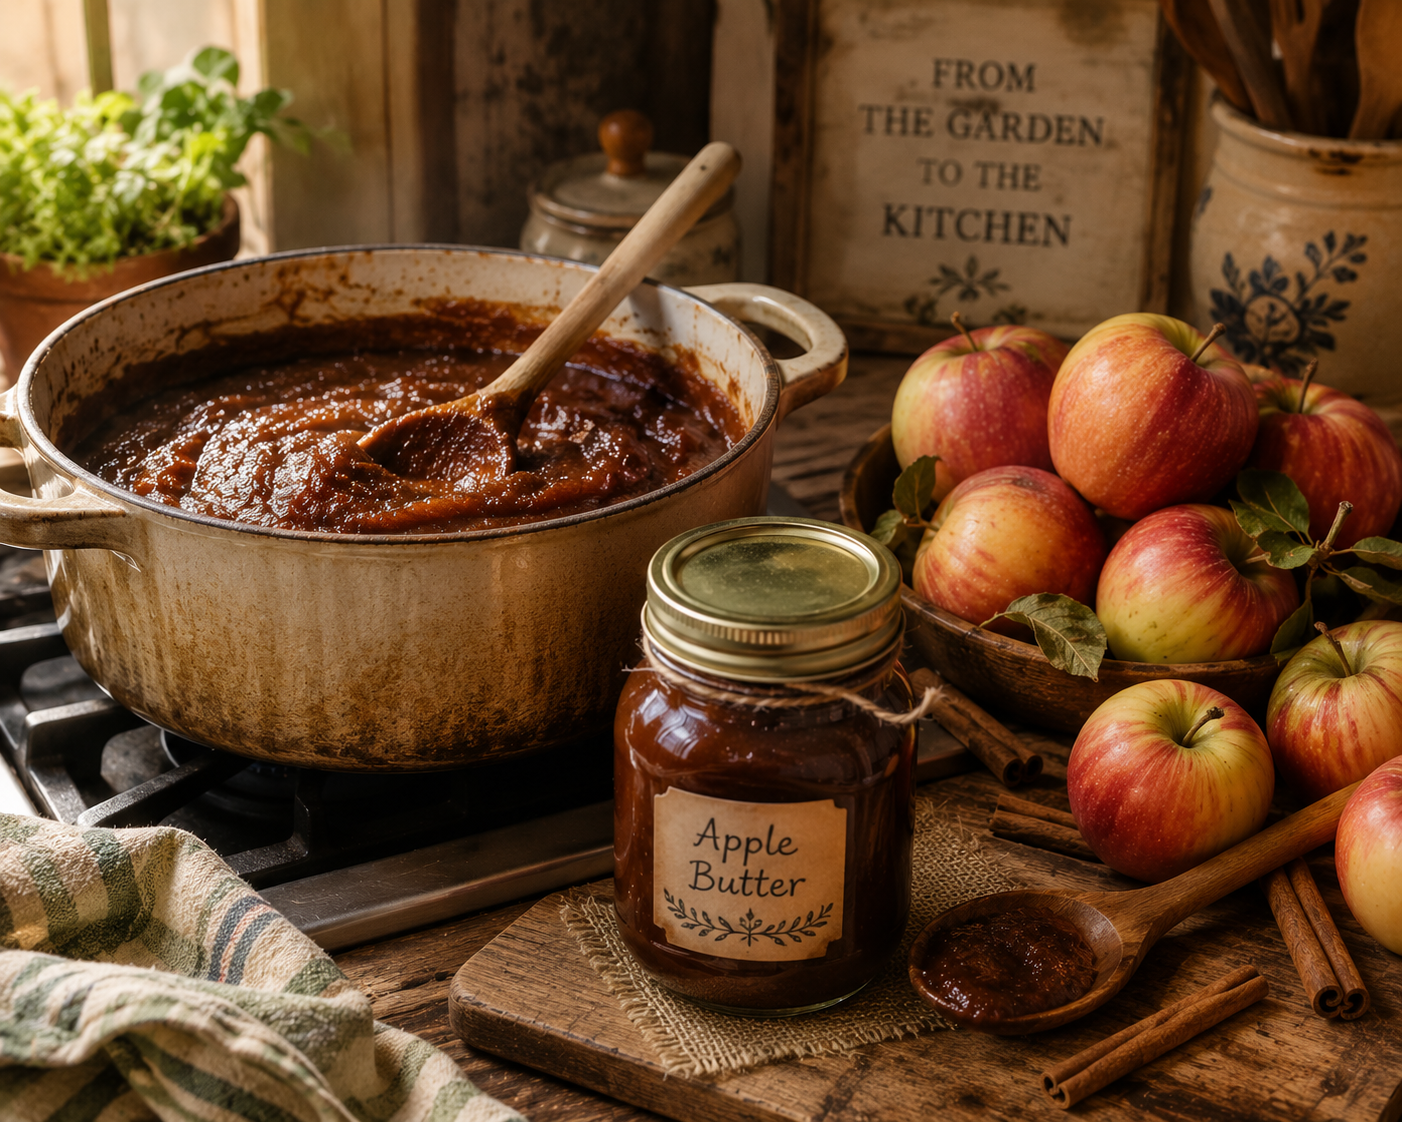
Apple season is just getting started, and if you've got a bushel of apples staring at you from the counter, apple butter is one of the best old-fashioned ways to use them up. This isn't jam, and it isn't applesauce. Apple butter is apples cooked low and slow until they break down into something deep, dark, spiced, and thick enough to hold a spoon, all without a single packet of store-bought pectin.
That's actually the beauty of this recipe. Apple butter doesn't set with pectin the way jam does. It thickens purely through time, patience, and evaporation, which means the method has stayed essentially unchanged for generations. I'll walk you through the easy stovetop version first, along with how to store it in your fridge or freezer, and then we'll cover a separate, properly sourced method for canning it shelf-stable if that's the route you want to take.
A Little Apple Butter History
Apple butter has deep roots in early American and Pennsylvania Dutch kitchens, where communities would gather for an "apple butter boil," taking turns stirring a massive copper kettle over an open fire for hours on end. It was as much a social event as a preservation method, a way to put up a whole season's apple harvest before refrigeration was ever an option.
That same spirit carries through in this recipe, even scaled down to a single pot on your stove. It's a slow, patient process by design, and there's something satisfying about standing at the stove stirring a pot that generations of home cooks before you have stirred in almost exactly the same way.
Choosing the Right Apples
A blend of apples gives you the best flavor, so don't feel like you need to hunt down one perfect variety. Softer, sweeter apples like Golden Delicious, Fuji, or McIntosh break down quickly and give the butter its body, while a tart variety like Granny Smith adds brightness and keeps the finished product from tasting flat or one-note. A mix of roughly two-thirds sweet apples to one-third tart is a solid starting ratio, though this recipe is forgiving enough to work with whatever combination you have on hand.
What You'll Need for the Stovetop Method
For a basic batch, you'll need about 5 pounds of apples, peeled, cored, and roughly chopped, along with 1 cup of apple cider or water, 1 to 1 and a half cups of brown sugar (adjust to taste depending on how sweet your apples are), 2 teaspoons of ground cinnamon, half a teaspoon of ground cloves, a quarter teaspoon of ground allspice or nutmeg, and a pinch of salt. A splash of vanilla extract at the end is optional but lovely.
This version is meant for eating fresh, refrigerating, or freezing, so feel free to adjust the sugar and spices to your own taste. Once we get to the canning section below, though, we'll switch to a specific tested recipe, since canning safety depends on following exact ratios rather than adjusting to taste.
Step 1: Cook the Apples Down
Place your chopped apples in a large, heavy-bottomed pot or Dutch oven with the cider or water. Cover and cook over medium-low heat, stirring occasionally, until the apples are completely soft and falling apart, usually 20 to 30 minutes. Leaving the peels on during this stage isn't necessary for this method, but if you do, know that apple peels carry natural pectin that can help the texture, and you'll simply strain everything smooth in the next step.
Step 2: Puree Until Smooth
Once the apples are soft, puree them until smooth using an immersion blender directly in the pot, or in batches in a regular blender or food processor. If you left the peels on, run the puree through a food mill or fine mesh strainer at this point to remove them, leaving you with a perfectly smooth base.
Step 3: Add Sugar and Spices, and Cook Low and Slow
Return the puree to the pot and stir in your sugar, cinnamon, cloves, allspice or nutmeg, and salt. Here's where the real transformation happens. Cook uncovered over low heat, stirring every so often to prevent scorching on the bottom, for 1 to 3 hours, depending on how thick you'd like it. The apple butter will gradually darken from a light tan to a deep, rich brown as the sugars caramelize and the moisture cooks away.
Stir more frequently as it thickens, since a thicker butter scorches more easily than a thin one. If you have a slow cooker, this stage can also be done on low with the lid cracked for 6 to 10 hours, stirring occasionally, which frees you from babysitting the stove.
Step 4: Test for Doneness
You'll know your apple butter is ready using one of two simple, traditional tests. Spoon a small amount onto a chilled plate. If no ring of liquid separates around the edge after a minute or so, it's done. Alternatively, dip a spoon in and hold it away from the steam for a couple of seconds. If the butter mounds and holds its shape rather than dripping off, you're there. Stir in your vanilla extract, if using, right at the end.
Storing Apple Butter in the Refrigerator
Once cooled, transfer your apple butter to a clean, airtight jar or container and store it in the refrigerator, where it will keep well for about 2 to 3 weeks. This is the simplest option if you plan to use it up within a few weeks, no canning equipment required.
Storing Apple Butter in the Freezer
For longer storage without canning, apple butter freezes beautifully. Let it cool completely, then transfer it to freezer-safe containers or jars, leaving at least half an inch of headspace at the top to allow for expansion as it freezes. Properly stored, frozen apple butter keeps well for up to 6 months, sometimes longer. Thaw it in the refrigerator before using.
How to Can Apple Butter for Shelf-Stable Storage
If you want your apple butter to sit safely on a pantry shelf rather than take up space in your fridge or freezer, that requires proper water bath canning, and this is a step where precision genuinely matters for safety. Rather than adjusting the free-form stovetop recipe above, follow this tested recipe from the National Center for Home Food Preservation exactly, without substituting ingredients or changing the ratios of fruit, sugar, and acid.
Tested canning recipe (yields about 9 to 10 pints):
8 pounds apples (Jonathan, Winesap, Stayman, Golden Delicious, or McIntosh work well), 2 cups apple cider, 2 cups vinegar, 2 and a quarter cups white sugar, 2 and a quarter cups packed brown sugar, 2 tablespoons ground cinnamon, and 1 tablespoon ground cloves.
Wash, remove stems, quarter, and core the apples, leaving the peels on. Cook them slowly in the cider and vinegar until fully soft. Press the cooked fruit through a colander, food mill, or strainer to remove the peels and create a smooth pulp. Return the pulp to the pot and cook it with the sugar and spices, stirring frequently to prevent scorching, until it passes the same doneness test described above, either mounding on a spoon held away from steam for two minutes, or showing no ring of liquid when a spoonful is placed on a plate.
Fill hot apple butter into sterilized half-pint or pint jars, leaving one quarter inch of headspace. Quart jars do not need to be presterilized first. Wipe the rims clean, apply lids, and process in a boiling water canner according to your elevation.
Processing times for a boiling water canner:
For half-pint or pint jars, process 5 minutes at elevations of 0 to 1,000 feet, 10 minutes at 1,001 to 6,000 feet, and 15 minutes above 6,000 feet. For quart jars, process 10 minutes at 0 to 1,000 feet, 15 minutes at 1,001 to 6,000 feet, and 20 minutes above 6,000 feet.
Once processed, let jars cool undisturbed for 12 to 24 hours, then check that all lids have sealed properly before storing. Properly sealed, home-canned apple butter is shelf-stable in a cool, dark pantry for 12 to 18 months. If you're new to canning, it's worth reading through the National Center for Home Food Preservation's general canning guidance before you begin, since safe technique matters just as much as the recipe itself.
A Note on Why the Canning Recipe Is Different
You'll notice the canning version includes vinegar and different sugar amounts than the flexible stovetop version above. That's intentional, not optional. Recipes intended for shelf-stable canning are tested in a lab to confirm they reach a safe acidity and consistency for room-temperature storage. Changing the ratio of fruit to acid, cutting the sugar significantly, or swapping ingredients can change how safely that jar processes, even if the flavor seems fine to you. Save your creative substitutions for the fridge or freezer version, and stick to the tested recipe exactly when you're processing for the pantry.
Ways to Use Apple Butter
Apple butter is wonderful spread thickly on warm biscuits or toast, swirled into oatmeal, layered into a grilled cheese sandwich for an unexpected sweet and savory combination, or stirred into plain yogurt. It works beautifully as a filling for thumbprint cookies, swirled into a quick bread batter, or spooned over roasted pork as a simple, sweet-savory sauce. It also makes a lovely homemade gift, especially paired with a fresh loaf of bread, once cooler weather really sets in.
Common Mistakes to Avoid
The most common issue is impatience, pulling the apple butter off the heat before it's actually thickened enough, which results in a runnier, less shelf-stable product. Scorching is the next most common problem, usually from not stirring often enough once the mixture thickens and sugars start to concentrate on the bottom of the pot. And for anyone canning, altering the tested recipe's ratios is the mistake with the most serious consequences, since it can compromise the safety of a shelf-stable jar.
A Simple Apple Butter Checklist
Choose a mix of sweet and tart apples for balanced flavor. Cook the apples down fully before pureeing. Cook the sweetened puree low and slow, stirring often as it thickens. Test doneness with the plate or spoon method before removing from heat. Refrigerate for short-term storage, up to about 3 weeks, or freeze with headspace for up to 6 months. For shelf-stable canning, follow a tested recipe exactly and process according to the correct time for your elevation.
Frequently Asked Questions
Do I really not need pectin for apple butter?
Correct. Apple butter thickens through long, slow cooking that evaporates moisture and concentrates the fruit's natural sugars, not through a pectin gel. Pectin is for jams and jellies, not traditional apple butter.
Can I use a slow cooker instead of the stovetop?
Yes. Cook the pureed, sweetened apples on low with the lid cracked slightly for 6 to 10 hours, stirring occasionally, until it reaches the same thickened consistency described in this recipe.
Why does the canning recipe include vinegar when my usual recipe doesn't?
The vinegar helps ensure the tested recipe reaches a safe, consistent acidity for shelf-stable canning. It's a small enough amount that it doesn't make the finished apple butter taste vinegary, but it matters for safety in a canned, room-temperature product.
Can I can apple butter that I've already made using the flexible stovetop recipe?
Not safely, unless it matches a tested recipe's ratios of fruit, sugar, and acid. For canning, always start with a tested recipe like the one in this post rather than adapting your fridge or freezer version.
How do I know if my canned apple butter sealed properly?
Once jars have cooled for 12 to 24 hours, press the center of each lid. If it doesn't flex or pop, it's sealed. Any jar that didn't seal should be refrigerated and used within a few weeks instead of stored on the shelf.
Can I reduce the sugar in the canning recipe?
Not without using a specifically tested reduced-sugar recipe, since standard tested canning recipes rely on their exact sugar content as part of what makes them safe for shelf-stable storage. If you want less sugar in a canned product, look specifically for a tested reduced-sugar apple butter recipe rather than modifying this one.
What's the difference between apple butter and applesauce?
Applesauce is cooked apples, often lightly sweetened, left with a soft, chunky or smooth texture but still fairly loose. Apple butter is cooked down much further, with added sugar and spices, until it's thick, dark, and spreadable, closer to a jam consistency than a sauce.
Want More Recipes Like This All Season?
If you'd like more traditional, from-scratch recipes like this one delivered straight to your inbox as the seasons change, join our email list below. And if preserving your own harvest has you thinking bigger about what you could grow and put up next year, our upcoming gardening course is built to help you plan a garden that actually keeps your pantry full. Get on the waitlist to be the first to know when it opens.
Your Next Step
Grab whatever apples you've got, whether they're from your own tree, a farmers market haul, or a weekend of apple picking, and set aside an afternoon this week for a pot of apple butter. Your kitchen will smell incredible, and you'll end up with a pantry staple worth savoring well past apple season.
You Might Also Like:

