How to Start a Medicinal Herb Garden: Planning Your Apothecary Garden for Next Year
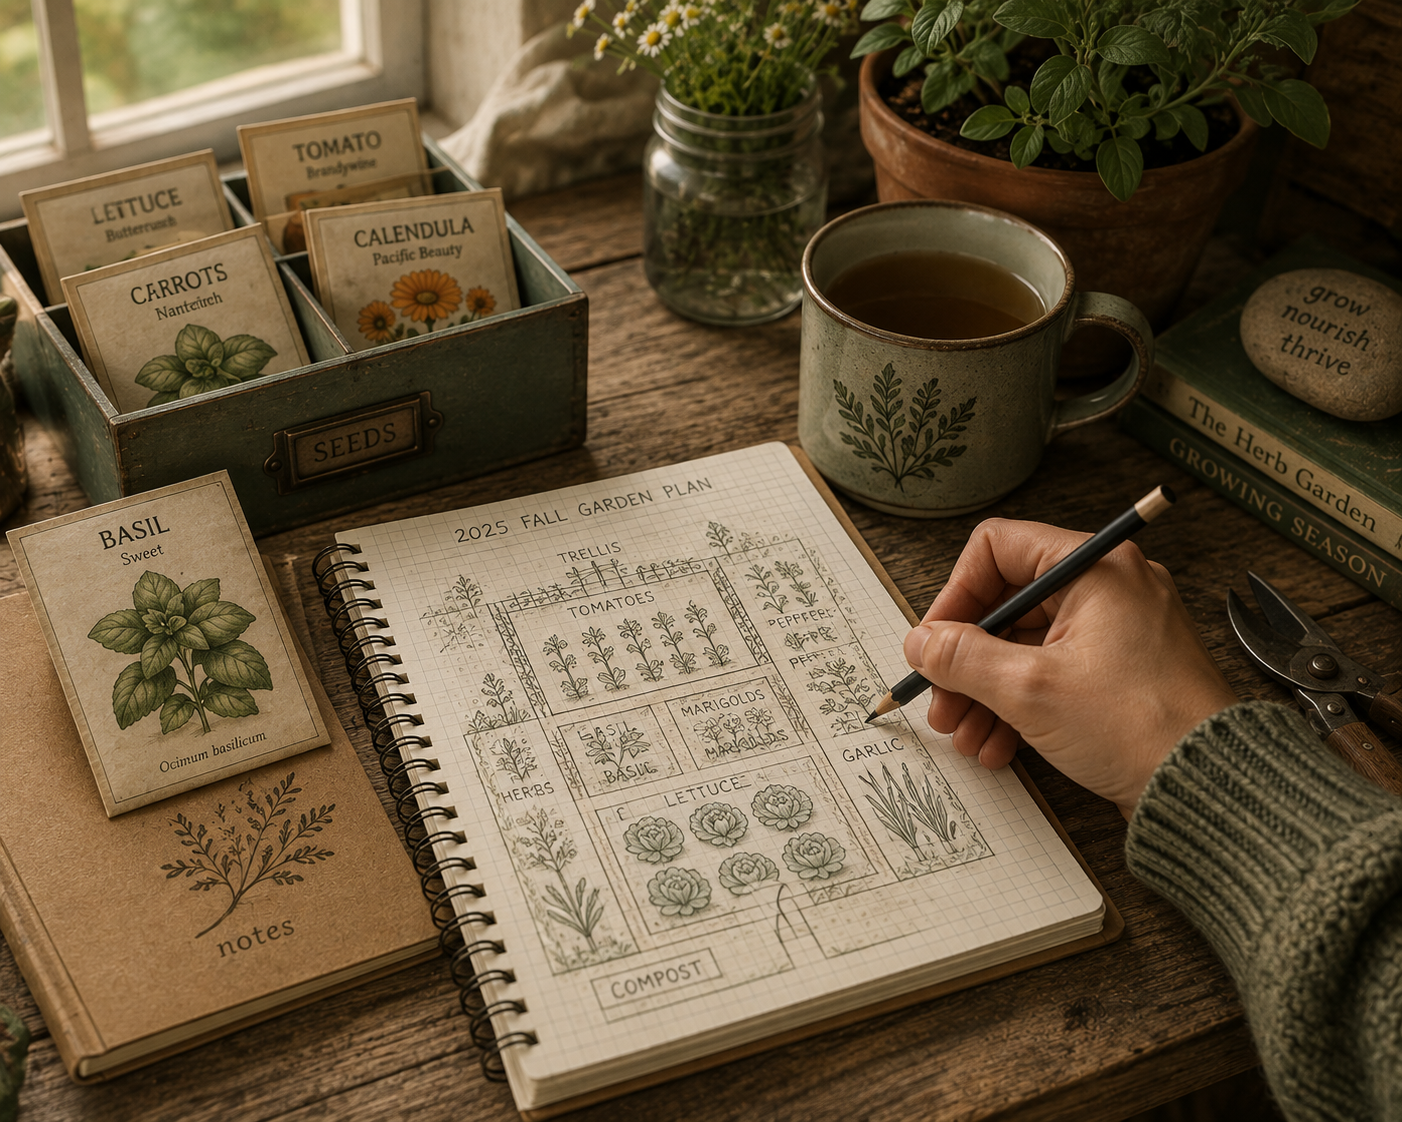
If you've been following along with this series, drying your own herbs, infusing calendula oil, learning what the Bible says about healing plants, choosing which medicinal herbs to plant this fall, you've already got the pieces. This post is about putting them together into an actual plan, so your apothecary garden grows into something intentional rather than a handful of scattered pots you're not quite sure what to do with.
Planning now, even in these last weeks before the ground gets too cold to work, sets you up to hit the ground running come spring. Let's walk through exactly how to design a medicinal herb garden that fits your space, your budget, and your family's actual needs.
Step 1: Choose Herbs Based on What You'll Actually Use
It's tempting to want to grow one of everything, but the most successful home apothecary gardens start narrow and grow outward over time. Before you plant anything, think honestly about the health concerns that come up most often in your household. Trouble sleeping, occasional stomach upset, minor skin irritation, seasonal colds, these everyday issues are exactly where a beginner herb garden earns its keep fastest.
Once you've got a short list of concerns, research which herbs are traditionally associated with supporting each one, and look for overlap. An herb that shows up for multiple concerns on your list, or one that pulls double duty in the kitchen and the apothecary, like sage or thyme, gives you more value for the same amount of garden space. Budget matters here too. Herbs like chamomile, calendula, and lemon balm are inexpensive to start from seed and forgiving for a first attempt, which makes them a smart place to put your very first dollars and square footage.
Step 2: Assess Your Actual Growing Site
Before you fall in love with a particular garden layout, walk your yard and take honest stock of what you're working with. Most medicinal herbs want six to eight hours of direct sun a day, so a south-facing spot is usually your best bet. A spot facing only east or west will get some sun, but likely not the full intensity many herbs need to develop their strongest flavor and properties.
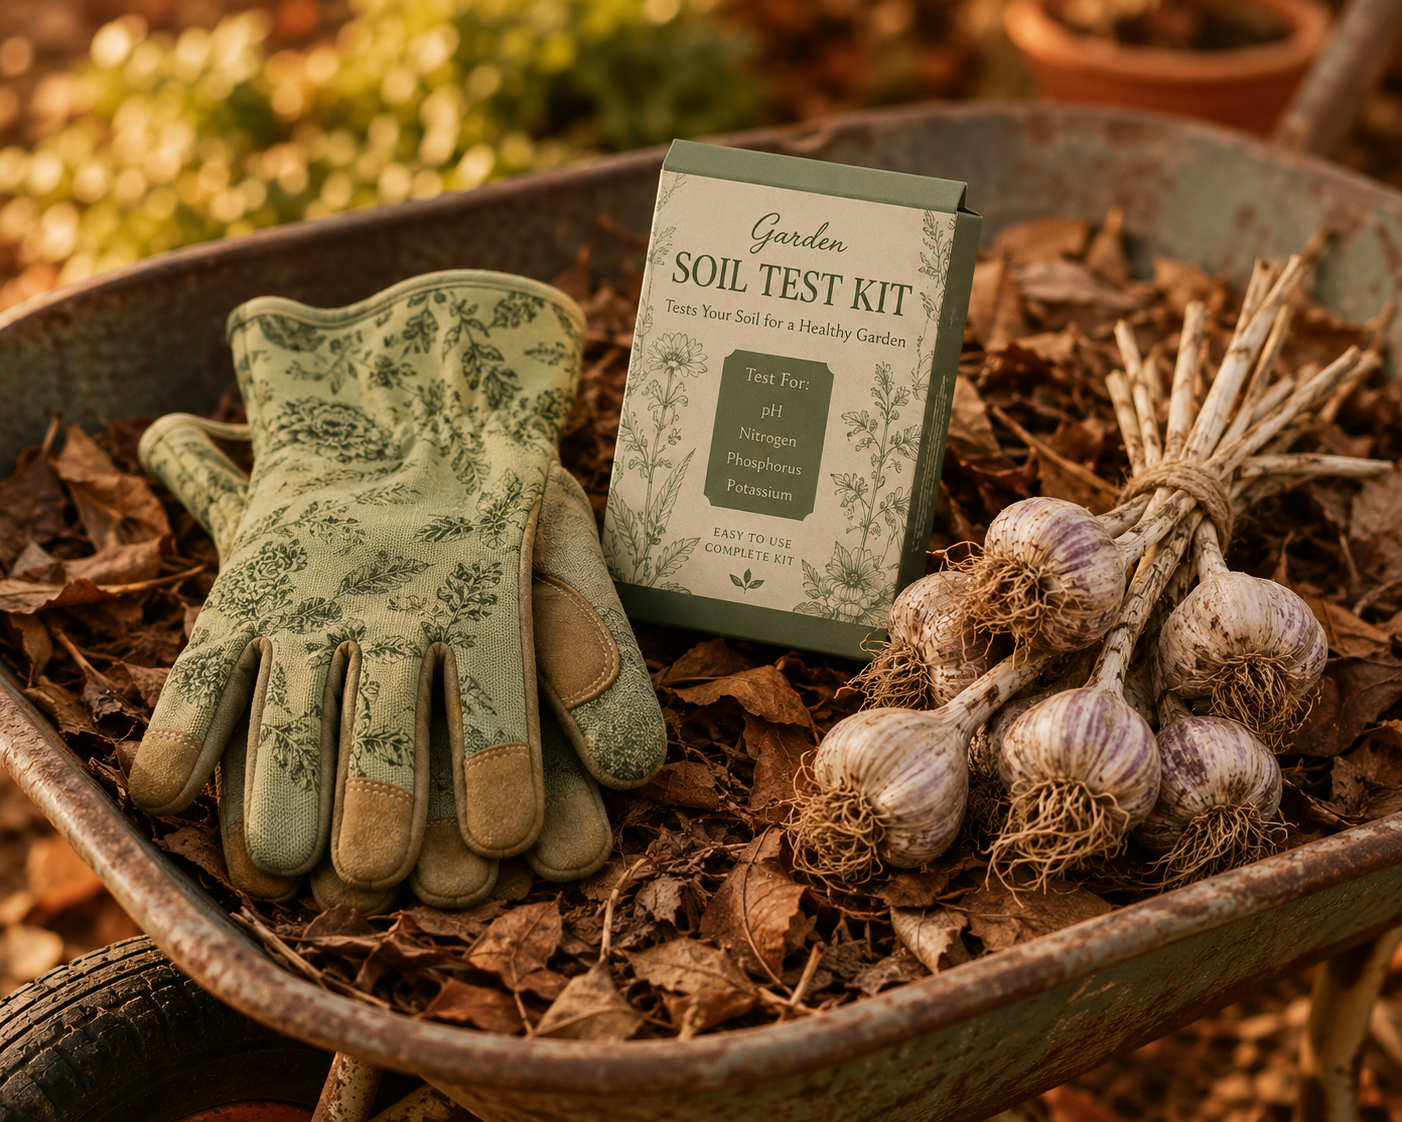
Soil matters just as much as sun. Most herbs, especially Mediterranean natives like rosemary, thyme, and sage, want loose, well-drained soil and actually struggle in heavy, waterlogged clay. After your next good rain, walk your prospective garden spot and see how quickly the water disappears. If it's still puddled hours later, you're either looking at a raised bed solution or a different spot in your yard entirely.
Step 3: Choose a Layout That Fits Your Space
There's no single right way to lay out an herb garden, and the best layout is simply the one that fits your actual space and how you like to garden. A few tried-and-true options are worth considering.
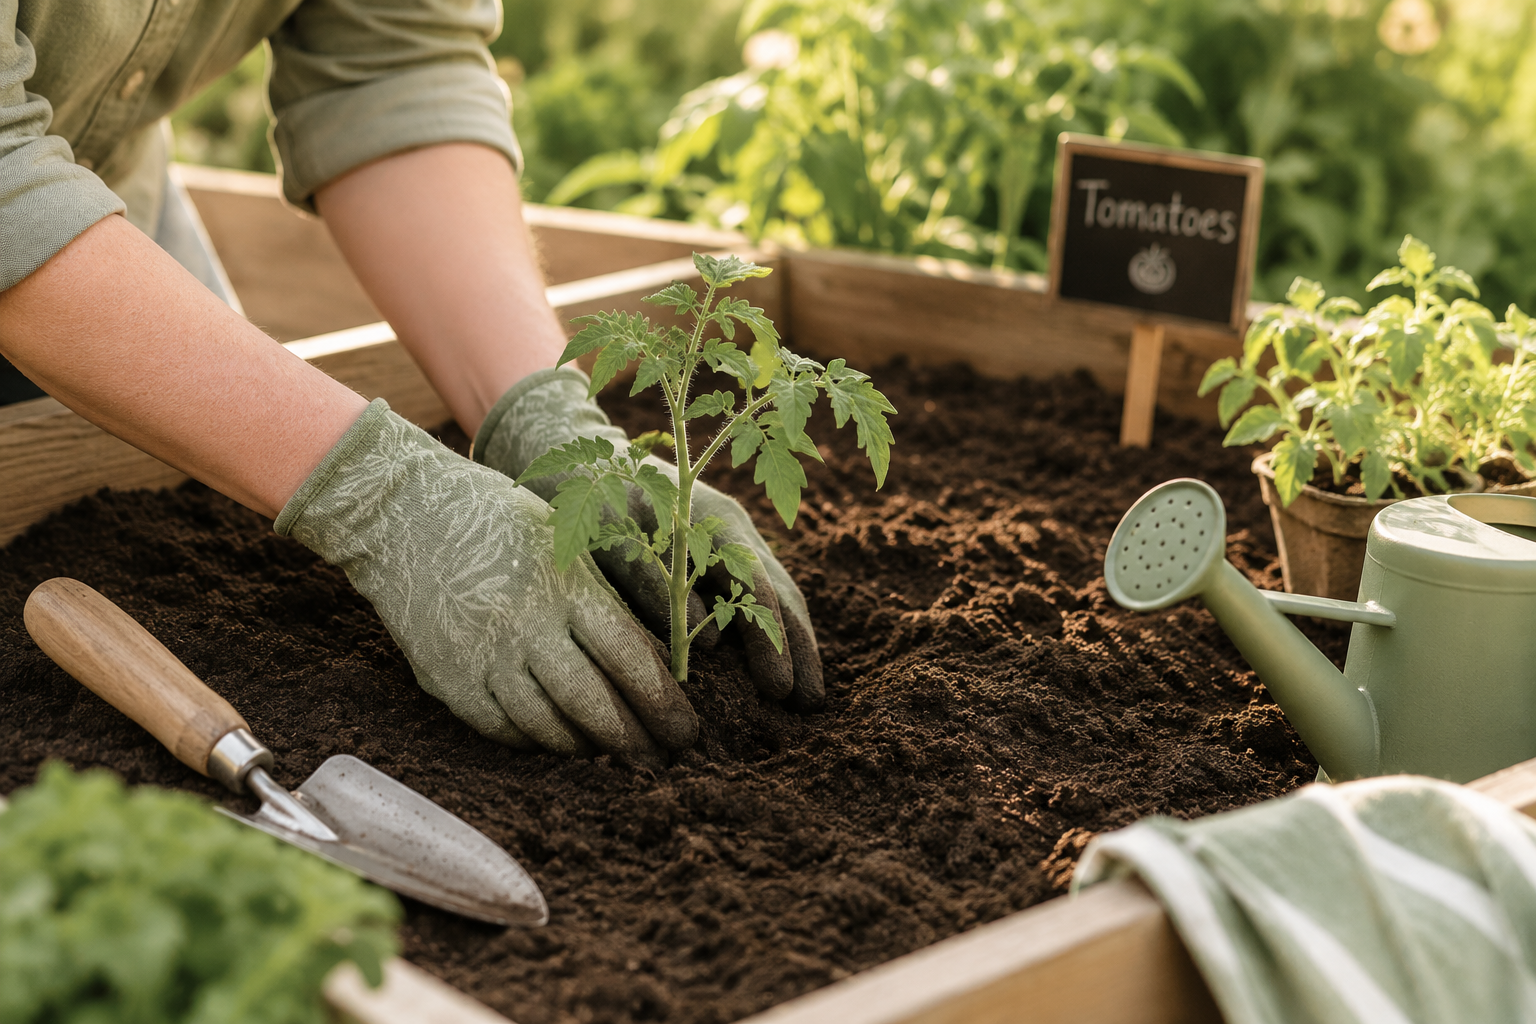
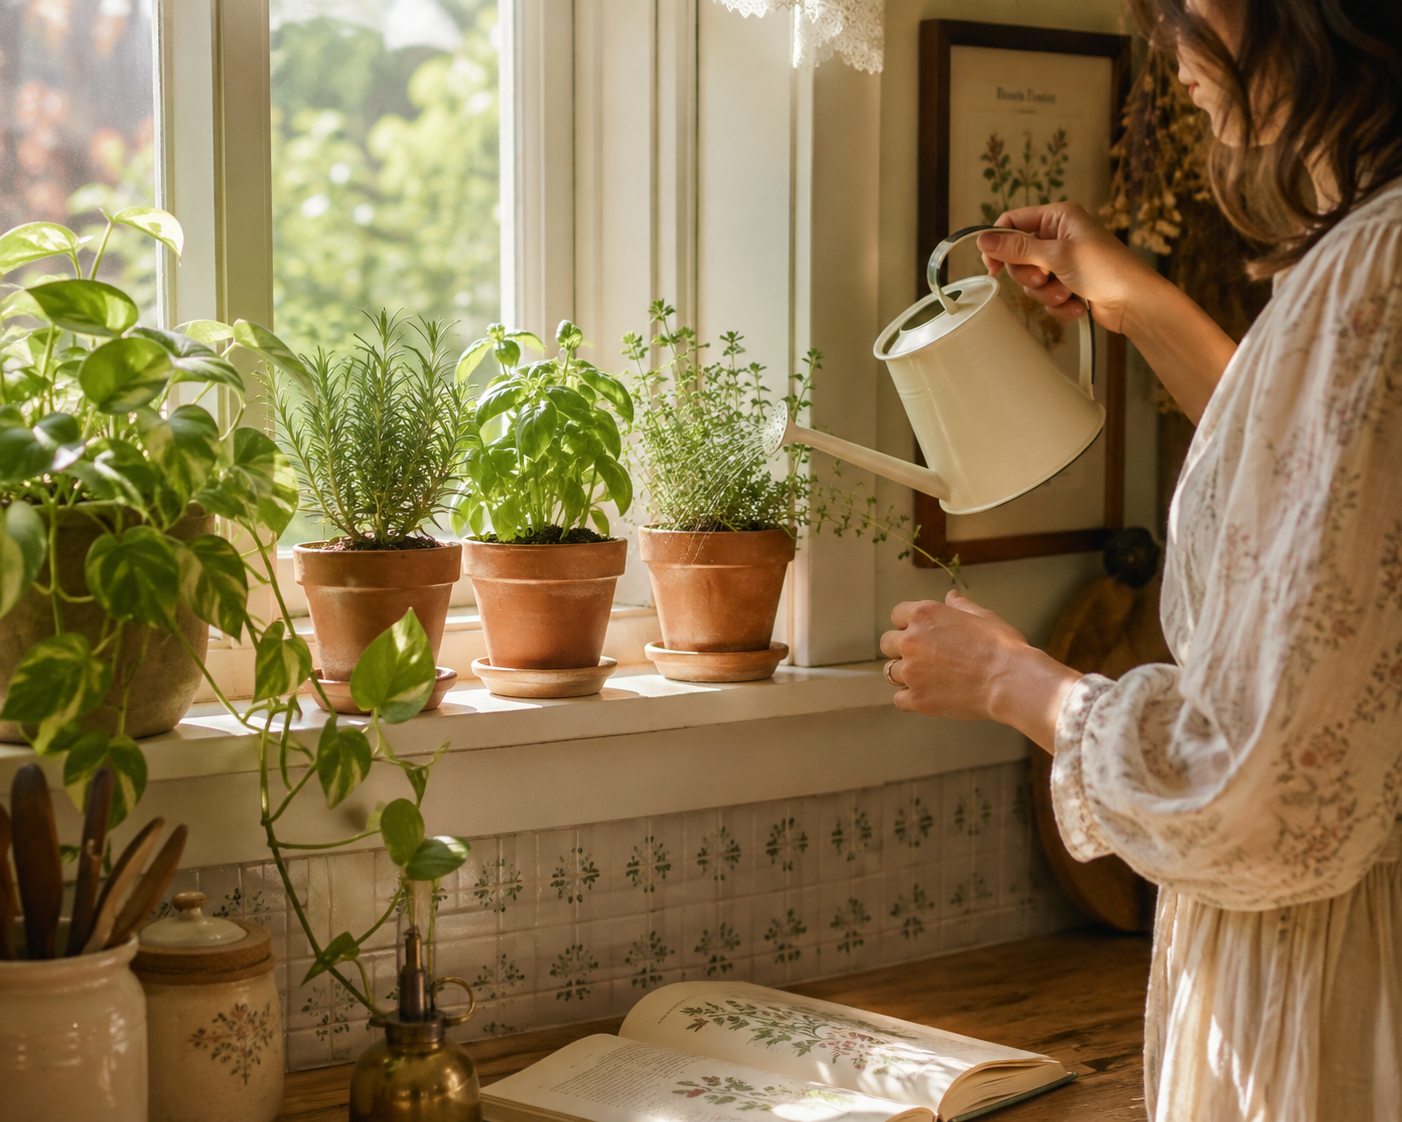
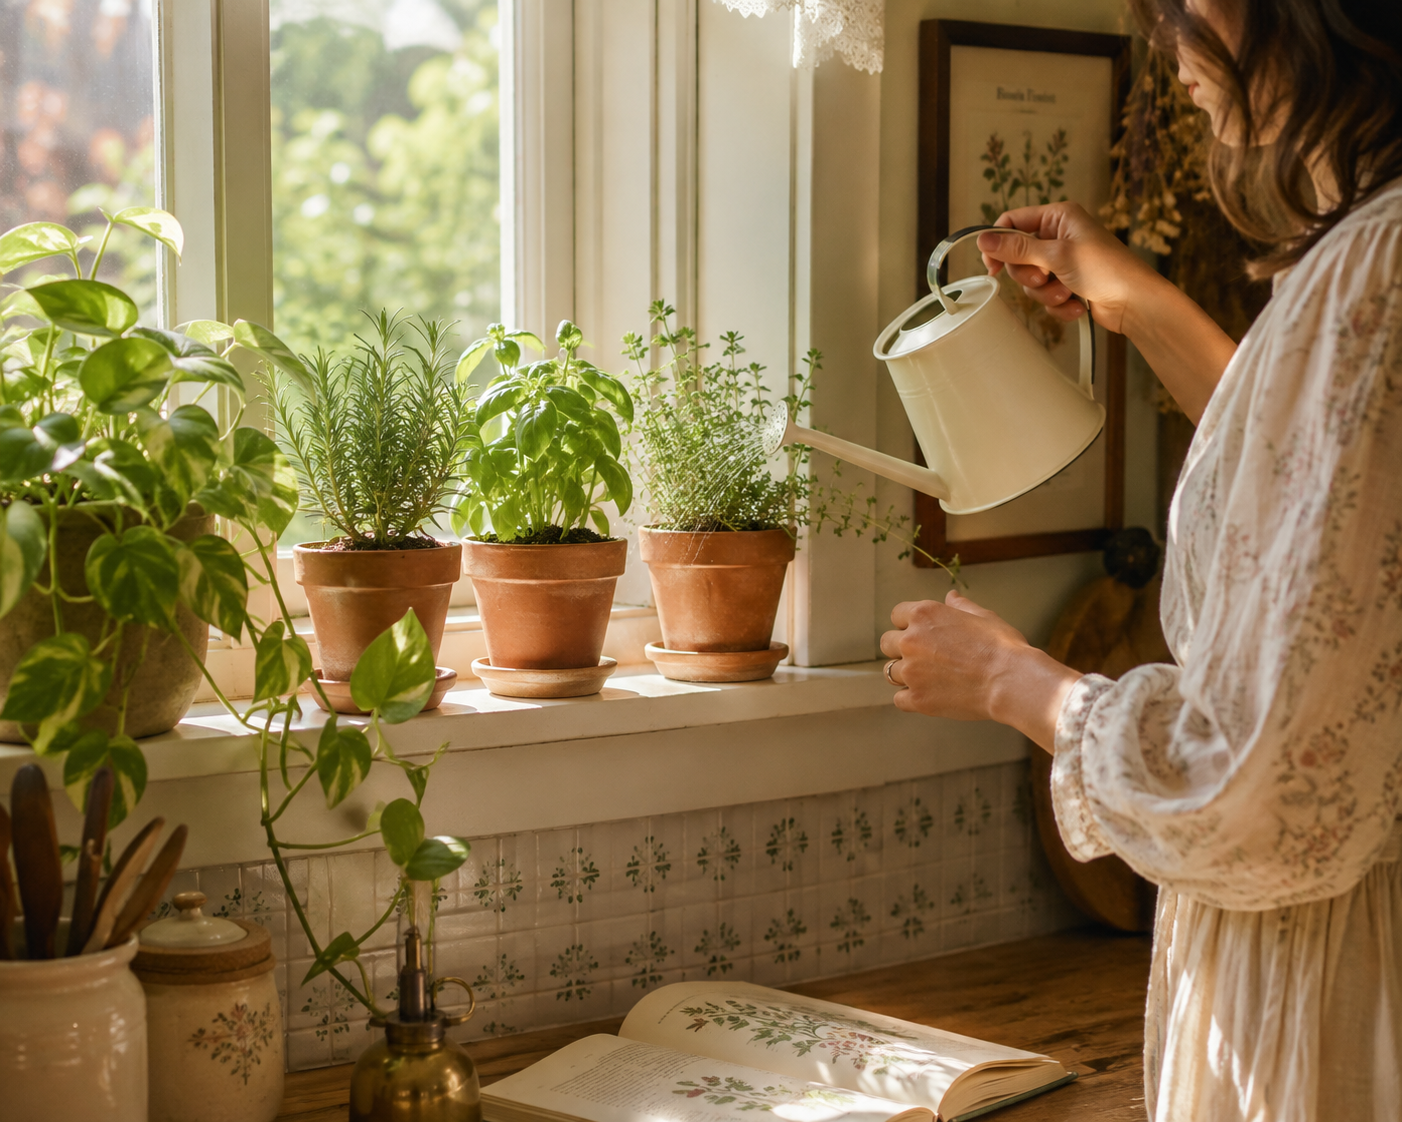
Simple rows or rectangular raised beds are the most straightforward choice, easy to plan and easy to expand later as your garden grows. A spiral herb garden, built by mounding soil into a rising spiral shape edged with brick or stone, creates several microclimates in a small footprint, with sun-loving, dry-soil herbs like rosemary planted at the sunny top and moisture-loving herbs like parsley planted toward the shadier base. A keyhole garden, a circular bed with a small notch cut out for access and a compost bin at its center, is a wonderful option if you want your garden to essentially feed itself over time. And if you're working with a small yard, patio, or even just a sunny windowsill, a collection of containers can absolutely function as a real apothecary garden, just on a smaller scale.
Step 4: Group Herbs by Their Water and Sun Needs
One of the most practical planning principles, regardless of which layout you choose, is grouping herbs together based on how much water and sun they actually want, rather than scattering them based purely on looks. Mediterranean herbs like rosemary, thyme, sage, and lavender all prefer dry soil and full sun, and they thrive when planted together in the same section of your garden. Moisture-loving herbs like lemon balm, mint, and chamomile do better grouped in a spot that stays a bit more consistently damp.
Planting a drought-tolerant herb right next to a thirsty one usually means one of them suffers, either from too much water or not enough, so this simple grouping step alone will save you a fair amount of trial and error.
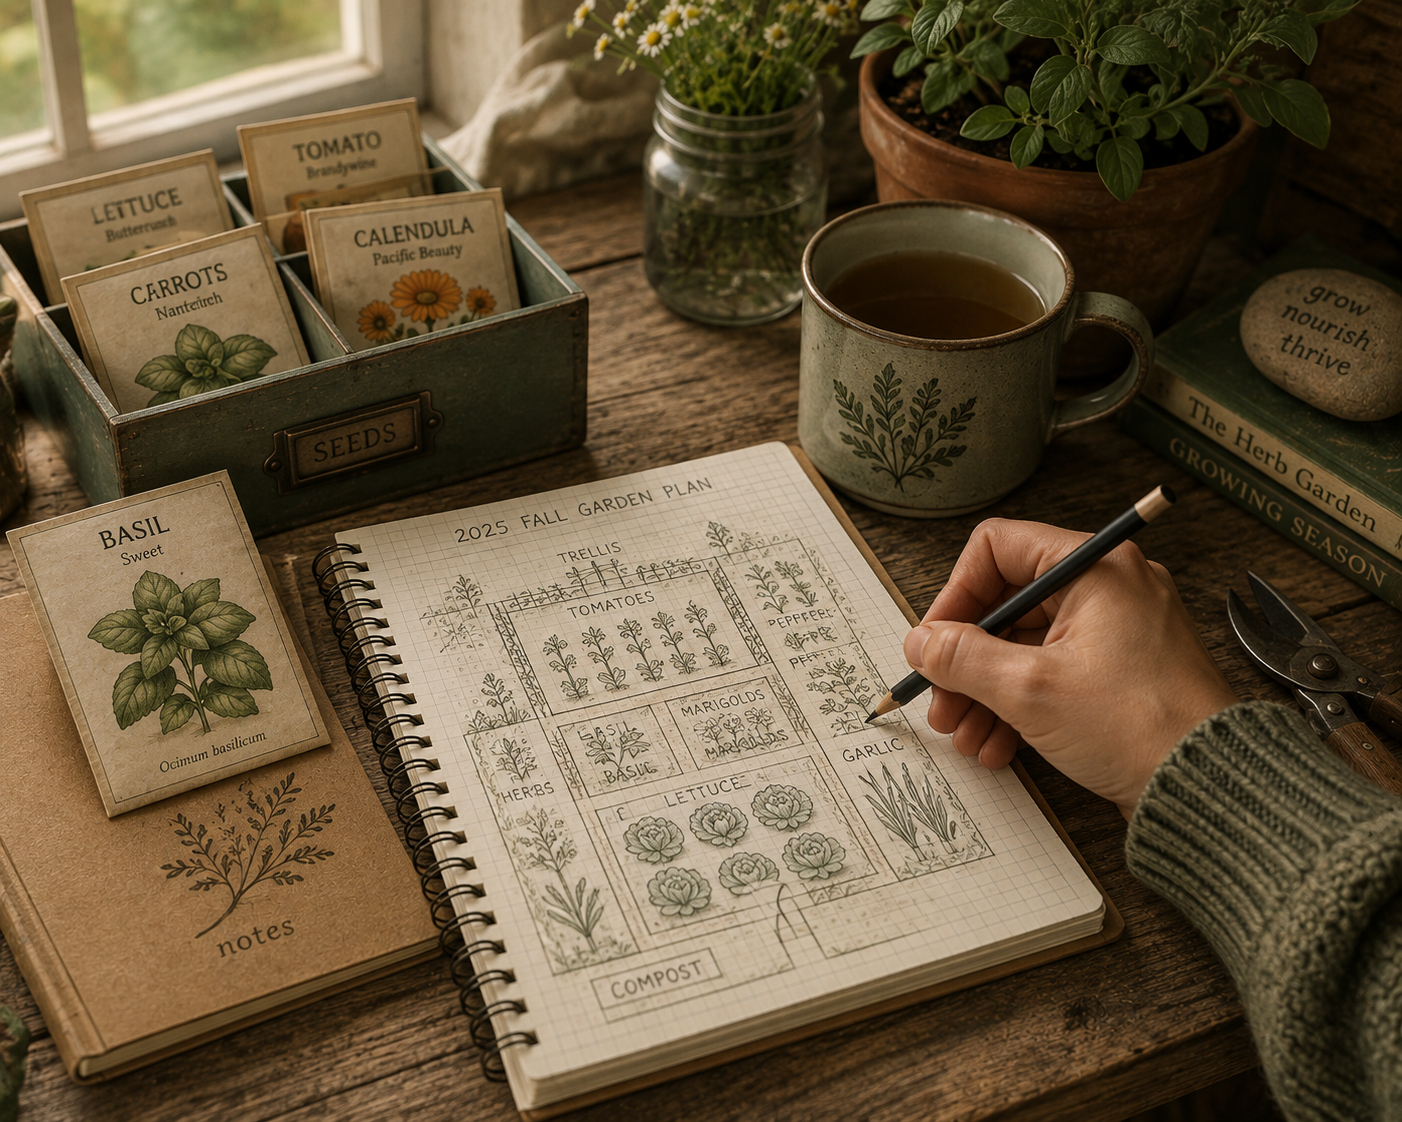
Step 5: Sketch a Simple Garden Map
You don't need fancy software for this. A pencil sketch on graph paper, or even the back of an envelope, works perfectly well. Rough out the shape of your growing space, then pencil in where each herb group will go, leaving enough room for each plant's mature size, not just how small it looks as a seedling. A rosemary plant, for example, can eventually reach three feet across, and giving it that space now saves you a frustrating transplant later.
It's also worth thinking about convenience here. Herbs you'll snip regularly for tea or cooking are worth placing somewhere close to your kitchen door, while herbs you'll harvest all at once for drying or infusing can live a little further out in the garden.
Step 6: Budget and Source Your Plants Thoughtfully
Starting from seed is almost always the most budget-friendly route, especially for fast-growing annuals like calendula and chamomile, and a single seed packet often provides far more plants than you'd get from buying started seedlings. For perennials like lavender, rosemary, and sage, buying an established starter plant costs more upfront but gives you a head start and a higher first-year success rate, which can be worth it for a beginner.
Don't overlook free sources either. Trading seeds, cuttings, or divided perennials with a friend or neighbor who already has an established herb garden is one of the oldest, most reliable ways gardeners have stocked their beds, and it costs nothing but a little conversation. If you're already saving your own seed from other parts of your garden, that same skill applies beautifully here too.
Step 7: Plan for Multiple Years, Not Just One Season
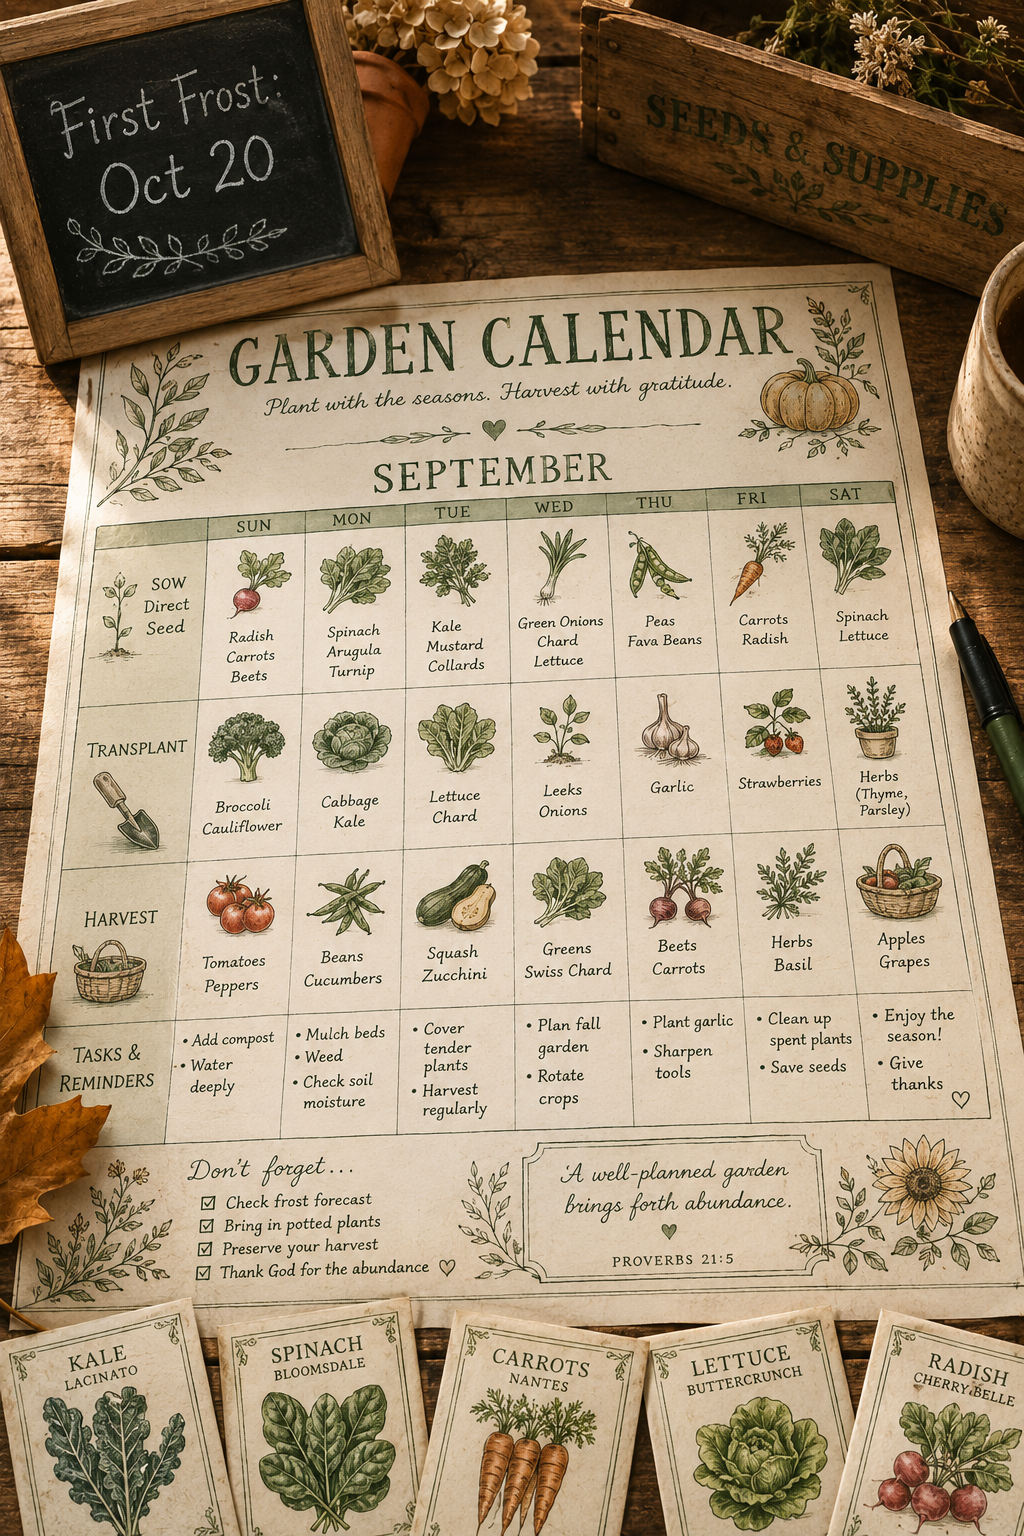
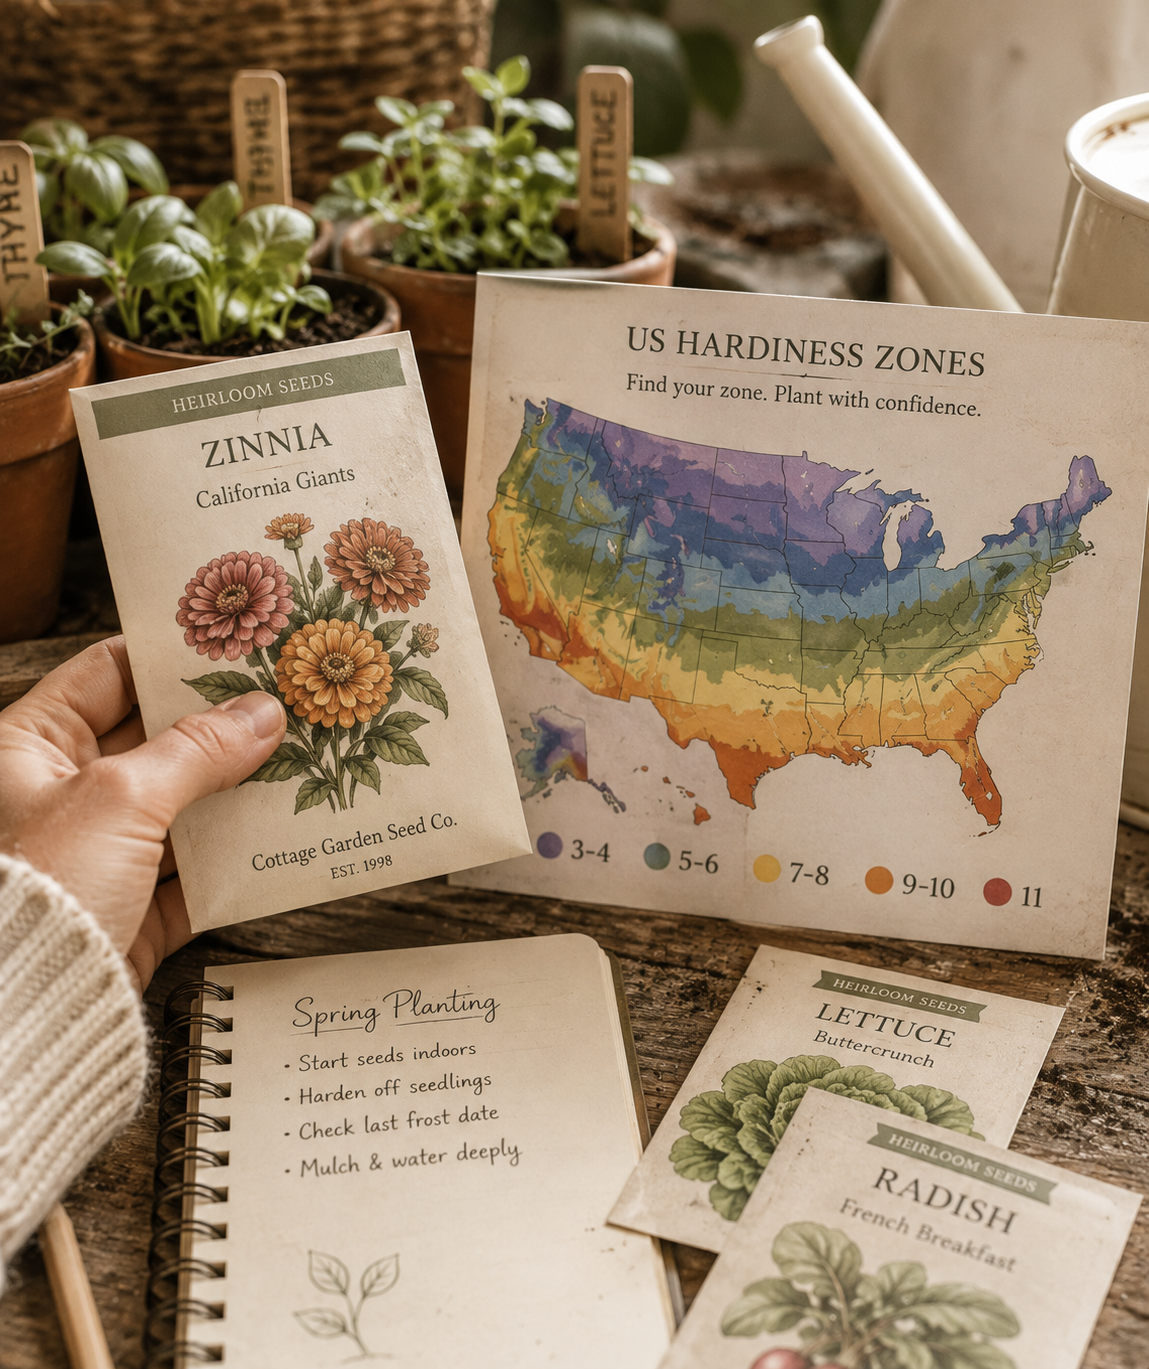
A real apothecary garden isn't something you finish planting in a single spring. Think of your first year as phase one of an ongoing project. Start with three to five herbs that address your top priorities and that fit your climate and site, get them well established, and actually learn to use them before adding more.
Each following year, add a handful of new herbs, expanding your garden's usefulness gradually rather than all at once. This slower approach means you'll actually know how to use everything you're growing, rather than ending up with a garden full of plants you're not confident working with.
Step 8: Keep a Garden Journal From the Start
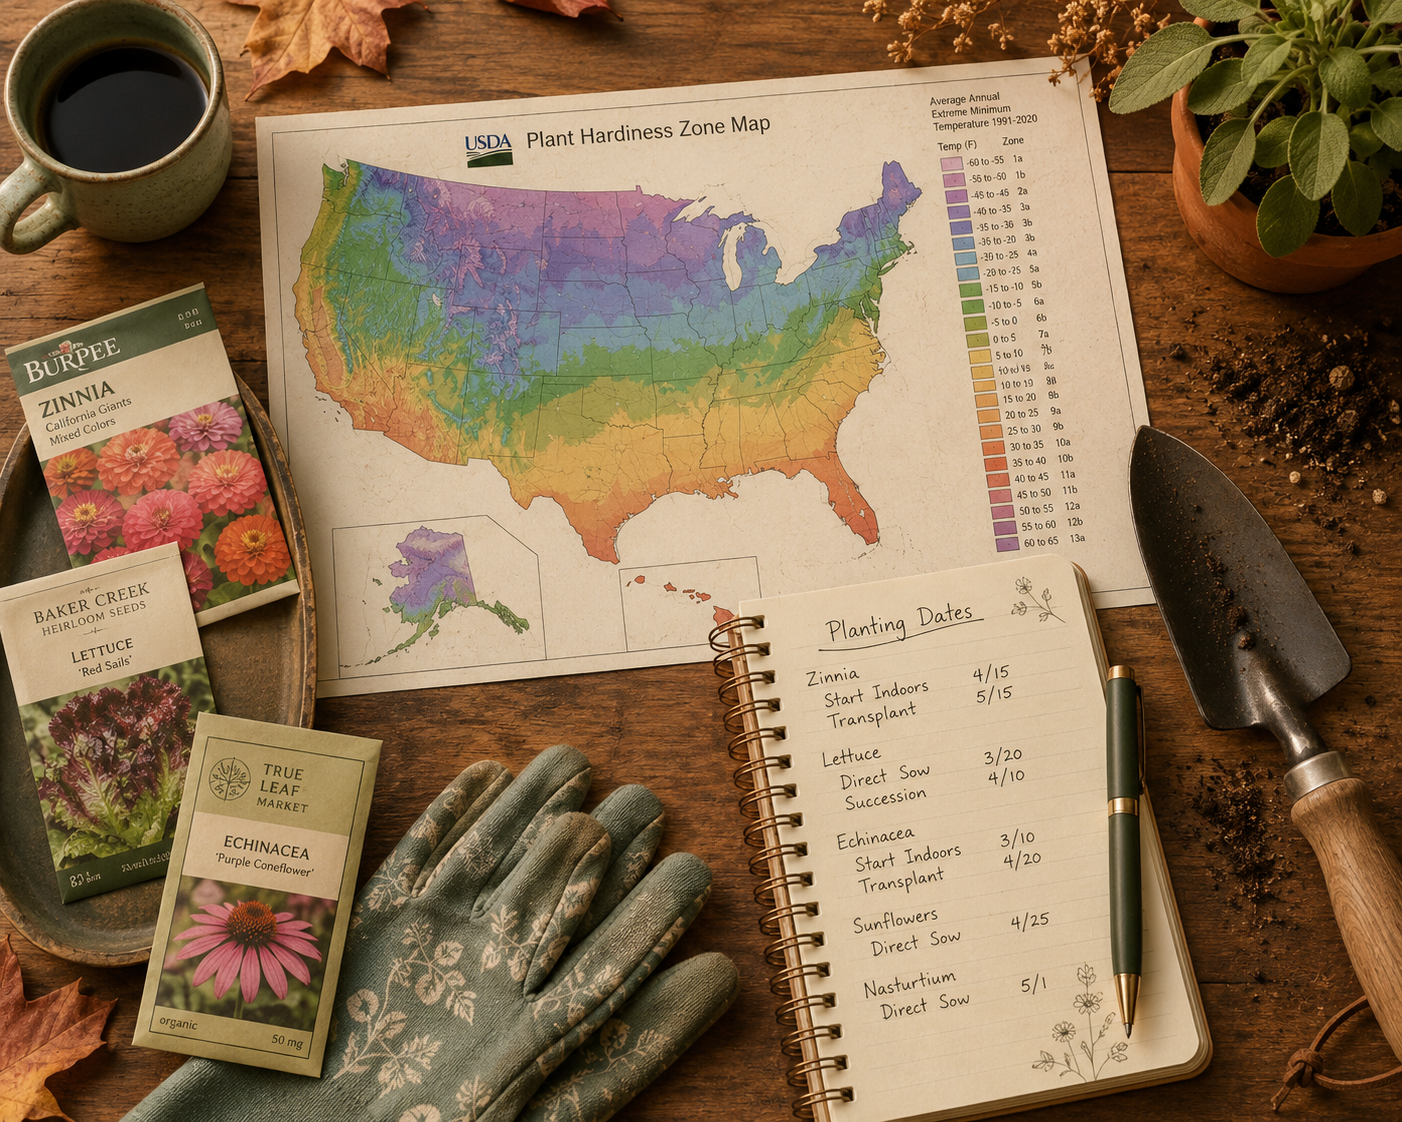
Start a simple notebook the day you plant your very first herb, and use it to track what you planted, where, and when, along with notes on how each plant performed through the season. This becomes invaluable by year two or three, when you're trying to remember whether last year's lavender struggled from too much water or not enough sun.
Your journal doesn't need to be fancy. A few lines after each garden visit is enough to build a genuinely useful reference over time, one that's specific to your exact soil, climate, and growing conditions rather than generic advice from a book or blog.
Common Planning Mistakes to Avoid
A few missteps show up again and again in first-time apothecary gardens, and knowing about them ahead of time can save you a season of frustration. Planting too many varieties in year one is probably the most common, leading to a garden that's technically full but that you don't actually know how to use well. Ignoring mature plant size is another classic mistake, tucking a rosemary or lavender into a tight spot that looked fine as a small seedling but becomes crowded and stressed within a year or two.
Skipping the sun and drainage assessment is another costly shortcut. It's tempting to just pick a spot and start digging, but a bed that turns out to be shadier or soggier than you realized often means struggling plants no matter how well you care for them otherwise. And finally, treating your garden plan as fixed rather than flexible can hold you back. Your first layout is a starting point, not a permanent commitment, and it's completely normal to move things around as you learn what actually thrives in your specific space.



A Sample First-Year Starter Plan
If you want a concrete place to start, consider this simple combination: calendula and chamomile for their versatility and beginner-friendly nature, lemon balm for its calming properties and forgiving growth habit, and sage or thyme since both pull double duty in the kitchen and the apothecary. That's four herbs, each budget-friendly, each useful for common everyday needs, and each a reasonable amount to learn and manage well in a single first season.
Ready to Go Deeper?
If all of this planning feels like exactly the kind of guidance you wish you had in one place, walking you step by step through designing your whole growing space, that's precisely what our upcoming gardening course is built to do. Join the waitlist to be the first to know when it opens.
And if a garden of your own still feels like a future goal rather than where you are today, remember that Maranatha Botanicals is being built for exactly that gap, bringing the same traditional, slow-made herbal remedies into your home even before your own garden is ready to supply them. Get on the newsletter list to hear when it launches.
A Simple Apothecary Garden Planning Checklist
List the health concerns your household deals with most often. Research which herbs traditionally support those needs and look for overlap. Assess your site's sun exposure and soil drainage. Choose a layout that fits your actual space, whether that's rows, a raised bed, a spiral, or containers. Group herbs by water and sun needs rather than planting at random. Sketch a simple map with mature plant sizes in mind. Budget for seeds versus starts, and look for free sources like trading with other gardeners. Plan your garden across several years rather than trying to finish it in one season. Start a garden journal on day one.
Frequently Asked Questions
How many herbs should a beginner start with?
Three to five herbs is a manageable starting point for most beginners. It's enough to build real skill and start using what you grow, without the garden becoming overwhelming to manage or learn.
Do I need raised beds for a medicinal herb garden?
Not necessarily. Raised beds are especially helpful if your native soil is heavy clay or drains poorly, but many herbs, particularly drought-tolerant Mediterranean varieties, grow just as well directly in the ground if your soil and drainage are reasonably good.
What's the cheapest way to start an herb garden?
Growing from seed is generally the most economical route, especially for fast-growing annuals like calendula and chamomile. Trading cuttings or divided perennials with other gardeners is another excellent no-cost option.
How much sun does a medicinal herb garden actually need?
Most medicinal herbs perform best with six to eight hours of direct sunlight daily. A south-facing spot typically offers the most consistent, high-quality light throughout the day.
Can I grow a medicinal herb garden if I only have a small patio or balcony?
Absolutely. Many medicinal herbs adapt well to container growing, and a collection of pots on a sunny patio can function as a genuine, useful apothecary garden on a smaller scale.
How long before I have a fully established apothecary garden?
Plan on this being a multi-year project rather than a single-season goal. Most gardeners find that building steadily, adding a few new herbs each year, results in a stronger, more useful garden than trying to plant everything at once.
What's the difference between a culinary herb garden and a medicinal one?
There's actually a lot of overlap, since many culinary herbs like sage, thyme, and rosemary carry traditional medicinal uses too. A dedicated medicinal herb garden usually just expands beyond the kitchen staples to include herbs grown specifically for tea, oil infusions, or home remedies rather than cooking alone.
Should I plan my garden around herbs I already know how to use, or ones I want to learn?
A mix of both works well, but leaning slightly toward herbs you already have some familiarity with in your first year builds confidence faster. You can always add more unfamiliar herbs in future years as your skills and knowledge grow.
Your Next Step
Grab a piece of paper this week and start sketching. List the health concerns you'd like your garden to support, walk your yard to assess sun and soil, and rough out where your first three to five herbs might go. That simple planning session is the real first step of your apothecary garden, long before a single seed goes into the ground.
You Might Also Like:

Sources:
Planting with Purpose: How to Design an Herb Garden That Heals and Delights - MOFGA
How to Design a Medicinal Herb Garden Layout - The Ultimate Homestead
The Ultimate Guide To Planning The Perfect Medicinal Garden Layout - Wild N Free Farms
Designing a Spiral Herb Garden - Manitoba Master Gardener Association
