What Is the Difference Between Water Bath Canning and Pressure Canning?
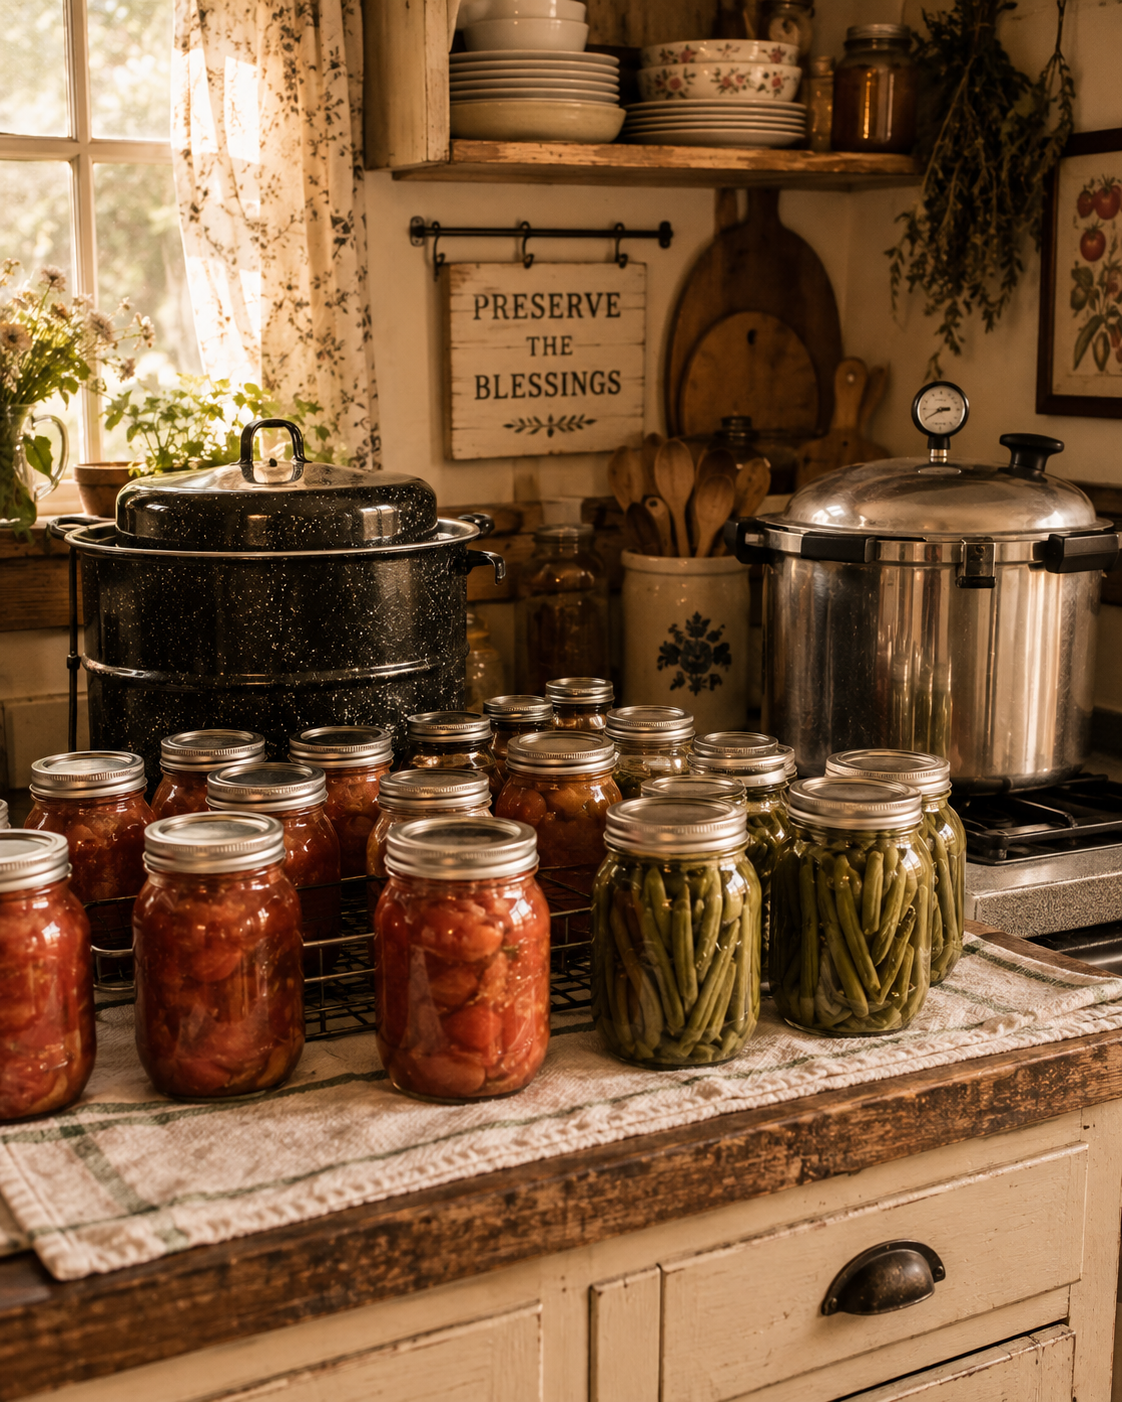
If your kitchen counter is starting to fill up with end-of-summer tomatoes, green beans, or peaches, you have probably run into this question already. Canning is one of the most rewarding homestead skills you can learn, but it is also one where getting the details right actually matters for your family's safety.
The Quick Answer
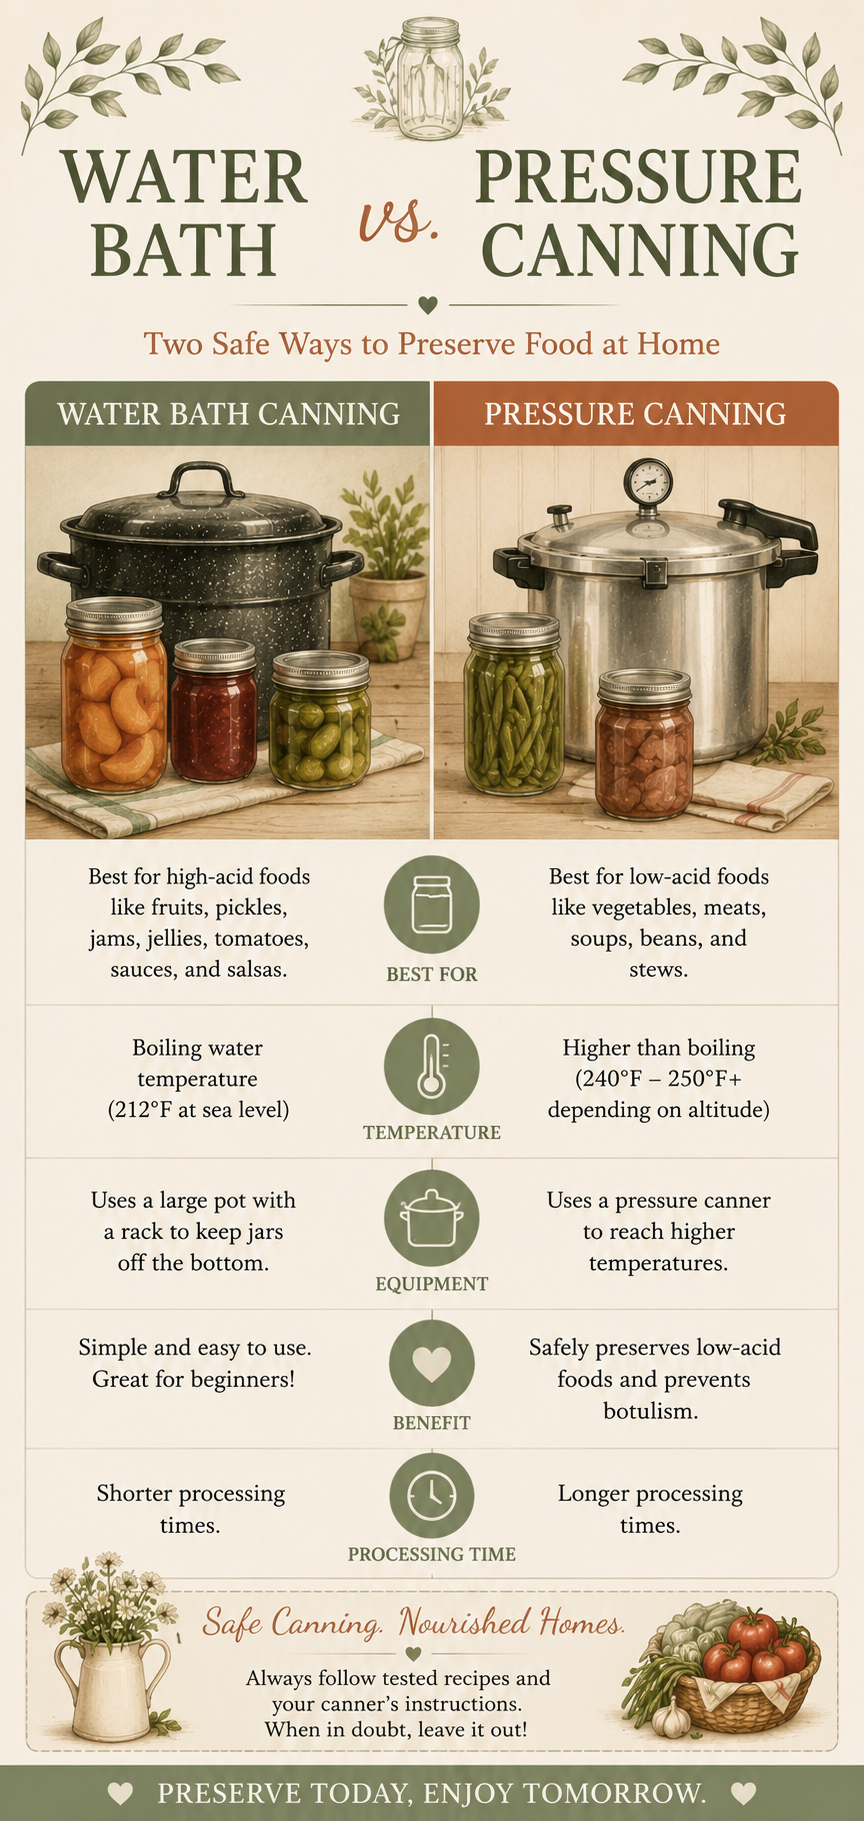
The method you need comes down to one thing: how acidic the food is. High-acid foods, like most fruits, jams, and pickles, can be safely processed with a water bath canner. Low-acid foods, like most vegetables, meats, and soups, require a pressure canner to reach a high enough temperature to be safe. This is not a matter of personal preference or convenience — the two methods are not interchangeable.
What Water Bath Canning Actually Is
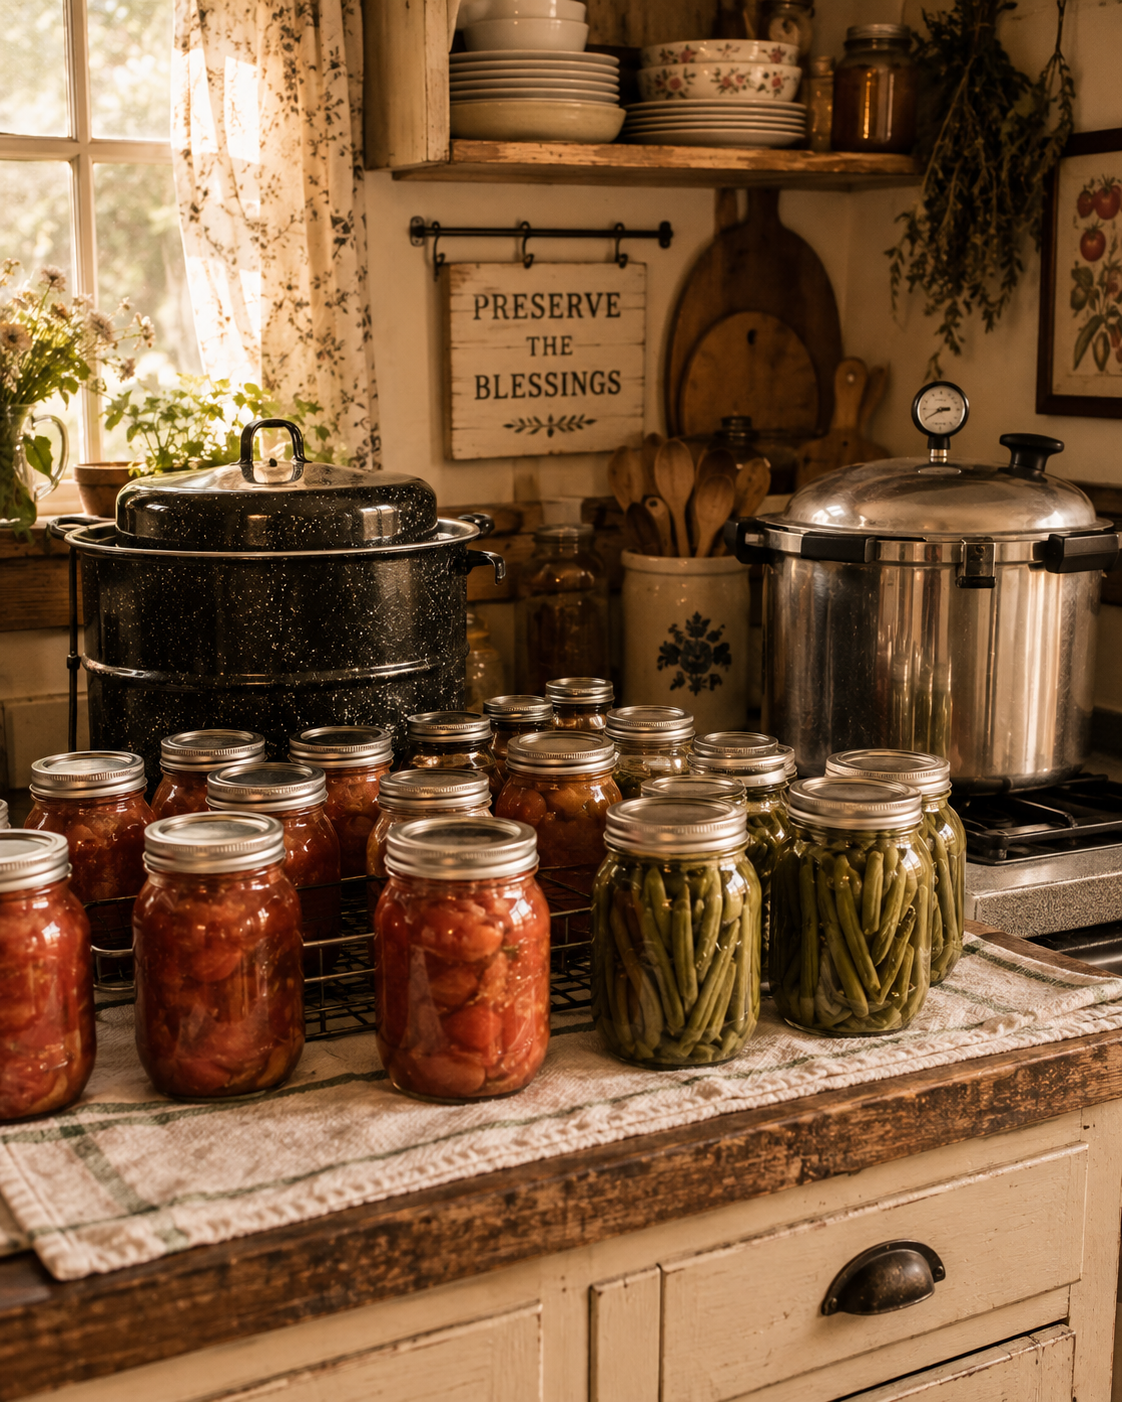
Water bath canning involves fully submerging filled, sealed jars in a pot of boiling water, keeping them covered by at least an inch of water, and processing at a rolling boil for a specific length of time. Boiling water reaches 212°F at sea level, enough to safely process high-acid foods. This is generally the more beginner-friendly starting point, requiring only a large pot, a rack, and jar-lifting tongs. Find a beginner kit with all that you need right here.
What Pressure Canning Actually Is
Pressure canning uses a specialized pressure canner, a sealed pot that builds internal pressure, allowing contents to reach 240-250°F, well above what boiling water alone can achieve. This higher temperature is necessary for safely processing low-acid foods. Pressure canners require more attention to detail, but are not difficult to learn with patience and a reliable, tested recipe. This is one of the top starter kits for pressure canning.
Why This Difference Actually Matters
A harmful bacterium called Clostridium botulinum can survive in low-acid, low-oxygen environments, exactly the conditions inside a sealed, improperly processed jar of low-acid food. If it survives and grows, it can produce a toxin that causes botulism, a rare but serious illness that can be fatal. This risk is well understood and easily avoided by following correct, tested canning methods. Boiling water doesn't get hot enough to destroy this bacterium's spores in low-acid environments; pressure canning does.
Which Foods Go With Which Method
Water bath canning is appropriate for high-acid foods, including:
Most fruits, like peaches, apples, and berries
Jams, jellies, and fruit preserves
Pickles and other vinegar-based pickled vegetables
Tomatoes, but only with added acidity (bottled lemon juice or vinegar), since natural tomato acidity varies too much
Pressure canning is required for low-acid foods, including:
Most vegetables, like green beans, carrots, corn, and potatoes
Meats, poultry, and seafood
Soups, stews, and other mixed dishes with low-acid ingredients
Beans and other legumes
If you're ever unsure which category a food falls into, use a tested, research-based recipe rather than guessing based on taste, since acidity isn't something you can judge accurately by flavor alone.
Why You Cannot Substitute One Method for the Other
No amount of additional boiling time in a standard water bath canner will reach the temperature needed to destroy the bacteria that threaten low-acid foods, because boiling water is physically limited to 212°F at sea level, regardless of how long it boils. Only the increased pressure of a proper pressure canner reaches the necessary temperature. This is one of the very few places in home cooking where there is truly no safe workaround.
Equipment You Actually Need for Each Method
For water bath canning: a large, deep pot with a lid tall enough to submerge jars with an inch or more of water above them; a rack to keep jars off the bottom; jar lifting tongs; canning jars, new lids, and reusable bands.
For pressure canning: a pressure canner specifically designed for canning, not a standard pressure cooker; a reliable pressure gauge or weighted gauge; the same jars, lids, and bands; a jar lifter and clean towel for wiping rims.
Both setups also benefit from a wide-mouth funnel and a bubble remover tool, though a plastic knife or chopstick works in a pinch.
How Long Does Each Method Actually Take
Processing times vary by food, jar size, and altitude, so always follow your tested recipe's exact times. Water bath sessions for jam or pickles often run 10 to 30 minutes of active processing. Pressure canning sessions tend to run longer, often 20 minutes to over an hour, plus time to come up to pressure and depressurize safely afterward. Budget a full afternoon for your first attempt at either method.
Always Use Tested, Research-Based Recipes
Whichever method you're using, stick to recipes and processing times from trusted, research-tested sources, such as the USDA Complete Guide to Home Canning or your local university extension office. Avoid altering a tested recipe on your own, even in ways that seem minor, since changes can affect whether the recipe still reaches a safe temperature throughout.
A Few Non-Negotiable Canning Safety Rules
Always match your method (water bath or pressure) to the acidity of the food, without exception
Only use tested, research-based recipes and processing times
Adjust processing times for your altitude, since higher elevations require longer processing or higher pressure
Inspect jars, lids, and seals carefully before and after processing, and never use a jar that didn't seal properly
When in doubt, throw it out. If a jar shows any sign of spoilage, discard it safely without tasting it
Getting Started as a Beginner
If you're brand new to canning, start with water bath canning and a simple, high-acid recipe like a basic fruit jam or pickled cucumbers. Ball has a complete canning and preserving book with all the recipes you need to get started here.
Once comfortable with water bath basics, consider investing in a pressure canner for vegetables, meats, or mixed dishes. Read your specific canner's manual thoroughly, since models vary.
Either way, start with a small batch your first time rather than processing a huge harvest all at once.
Common Mistakes to Avoid
Water bath canning a low-acid food "just this once." Never worth the risk, regardless of how careful you were otherwise.
Skipping altitude adjustments. Elevation affects processing times, and skipping this can result in under-processed, unsafe food.
Improvising on a tested recipe. Changing ingredients or ratios can change a recipe's safety profile, even if the change seems small.
Reusing canning lids. Lids are designed for one-time use, since the sealing compound doesn't reliably reseal.
Not checking seals after processing. A jar that looks sealed isn't automatically safe if the seal didn't form correctly.
Frequently Asked Questions
Can I just process low-acid food longer in a water bath canner to make it safe?
No. Boiling water cannot exceed 212°F at sea level regardless of time, and that's not sufficient for low-acid foods.
How do I know if a food is high-acid or low-acid?
Use a tested, research-based recipe rather than guessing, since acidity isn't reliably judged by taste.
Do tomatoes need pressure canning or water bath canning?
Tomatoes are borderline and require added acid even for water bath canning, since natural acidity varies too much.
Is pressure canning dangerous or hard to learn?
Not when done correctly. It requires more attention to detail, but most home canners learn it successfully with a tested recipe and practice.
What should I do if a jar does not seal properly?
Refrigerate and use within a few days, or reprocess with a new lid within 24 hours. Don't store an unsealed jar at room temperature.
Does altitude really make a difference in canning safety?
Yes. Higher altitudes require longer processing times or increased pressure, since water boils at a lower temperature as elevation increases.
Where can I find reliable, tested canning recipes?
The USDA Complete Guide to Home Canning and university extension resources like the National Center for Home Food Preservation are the gold standard.
Can I use a regular kitchen pressure cooker instead of a pressure canner?
No. A standard pressure cooker is not the same as a canning-rated pressure canner and isn't recommended for home canning.
How long do home-canned foods actually last?
Properly processed, sealed jars are generally safe for up to a year, though quality is often best within that first year.
Do I need to sterilize my jars separately before canning?
For water bath processing under 10 minutes, yes. For longer processing and pressure canning, the processing itself sterilizes the jars.




Your Next Step
Identify whether the foods you want to preserve are high-acid or low-acid, using a trusted reference rather than guessing
Choose the correct method, water bath or pressure canning, based on that acidity, without exception
Start with a small, simple, tested recipe if you are new to either method
Double check your altitude adjustment before processing
Keep a reliable, tested recipe source on hand for future canning projects
Canning is a genuinely valuable skill for a from-scratch, homestead-minded kitchen, and it is also one worth taking seriously. Match your method to your food, follow tested recipes, and you can preserve your harvest with real confidence.
https://extension.sdstate.edu/water-bathing-vs-pressure-canning
https://www.cdc.gov/botulism/prevention/home-canned-foods.html
https://nchfp.uga.edu/how/can/general-information/ensuring-safe-canned-foods/
https://nchfp.uga.edu/how/can/general-information/for-safetys-sake/
https://www.foodsafetynews.com/2026/06/home-canning-season-is-here-follow-safe-practices-to-avoid-botulism-and-other-foodborne-illnesses/
https://www.fda.gov/media/107843/download
https://hgic.clemson.edu/factsheet/canning-foods-at-home/

How to use oxygen absorbers for long-term food storage — what size you need, which foods they work with, and the simple beginner guide to a pantry that lasts.