How to Save Seeds From Your Garden: A Beginner's Guide to Free Seeds for Next Year

One of the best-kept secrets of gardening is that your best harvest this year can quietly become next year's entire seed supply, completely free. Saving seeds from your own garden is one of those old-fashioned skills that feels almost too simple once you learn it, and yet most gardeners never try it, buying a fresh packet every single spring instead.
If you've been building out your own homestead skills this season, this one belongs right at the top of the list. Let's walk through exactly how to start saving your own seeds, even if you've never done it before.
Why Bother Saving Your Own Seeds?
Beyond the obvious money savings, seed saving gives you something a store-bought packet never can: seeds that are already adapted to your exact growing conditions. Every year you save seed from your healthiest, most productive plants, you're quietly nudging that variety to perform even better in your specific soil and climate.
It's also a meaningful way to preserve heirloom varieties that might otherwise disappear from availability, and it builds a real measure of self-sufficiency into your garden. If seed prices climb or a favorite variety gets discontinued, you'll already have your own supply tucked away.
Start With These Beginner-Friendly Plants
You don't need to save seed from everything in your garden this year, and honestly, you shouldn't try to. Start with one or two dependable, easy plants and build your confidence from there.
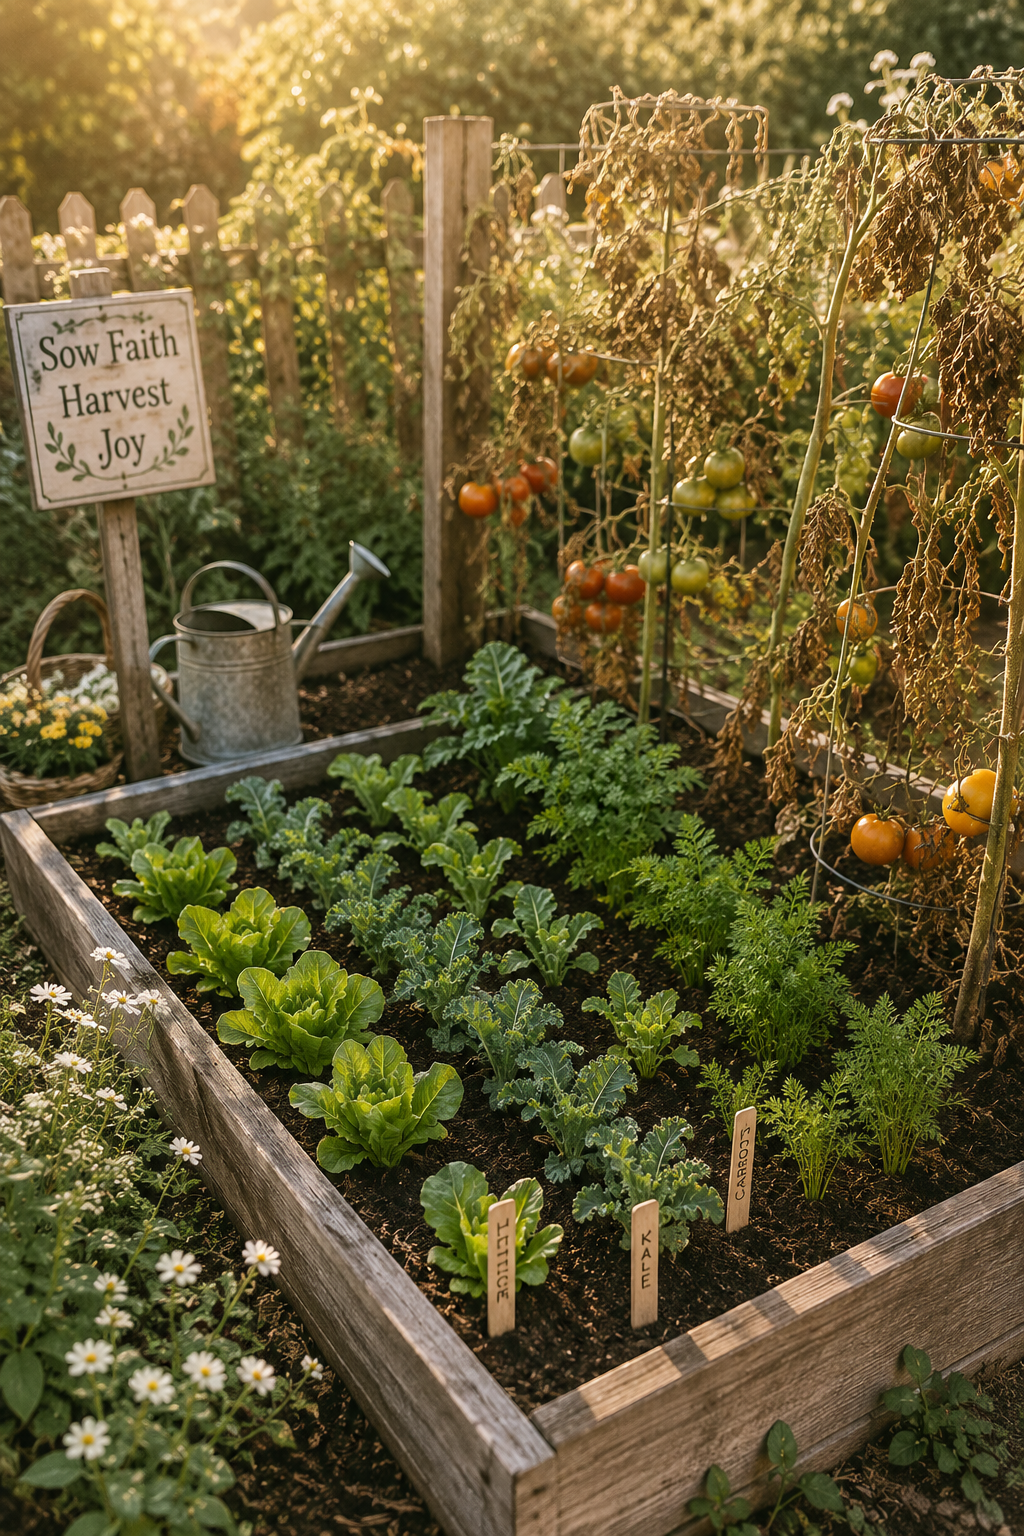
Beans, peas, lettuce, and tomatoes are the classic beginner choices, and for good reason. All four are self-pollinating, meaning they mostly pollinate themselves rather than relying heavily on cross-pollination from other varieties nearby. That makes them far less likely to produce a surprise cross when you save their seed, and their seeds are also simple to harvest and clean compared to trickier crops like squash or corn.



Heirloom, Open-Pollinated, or Hybrid: Why It Matters
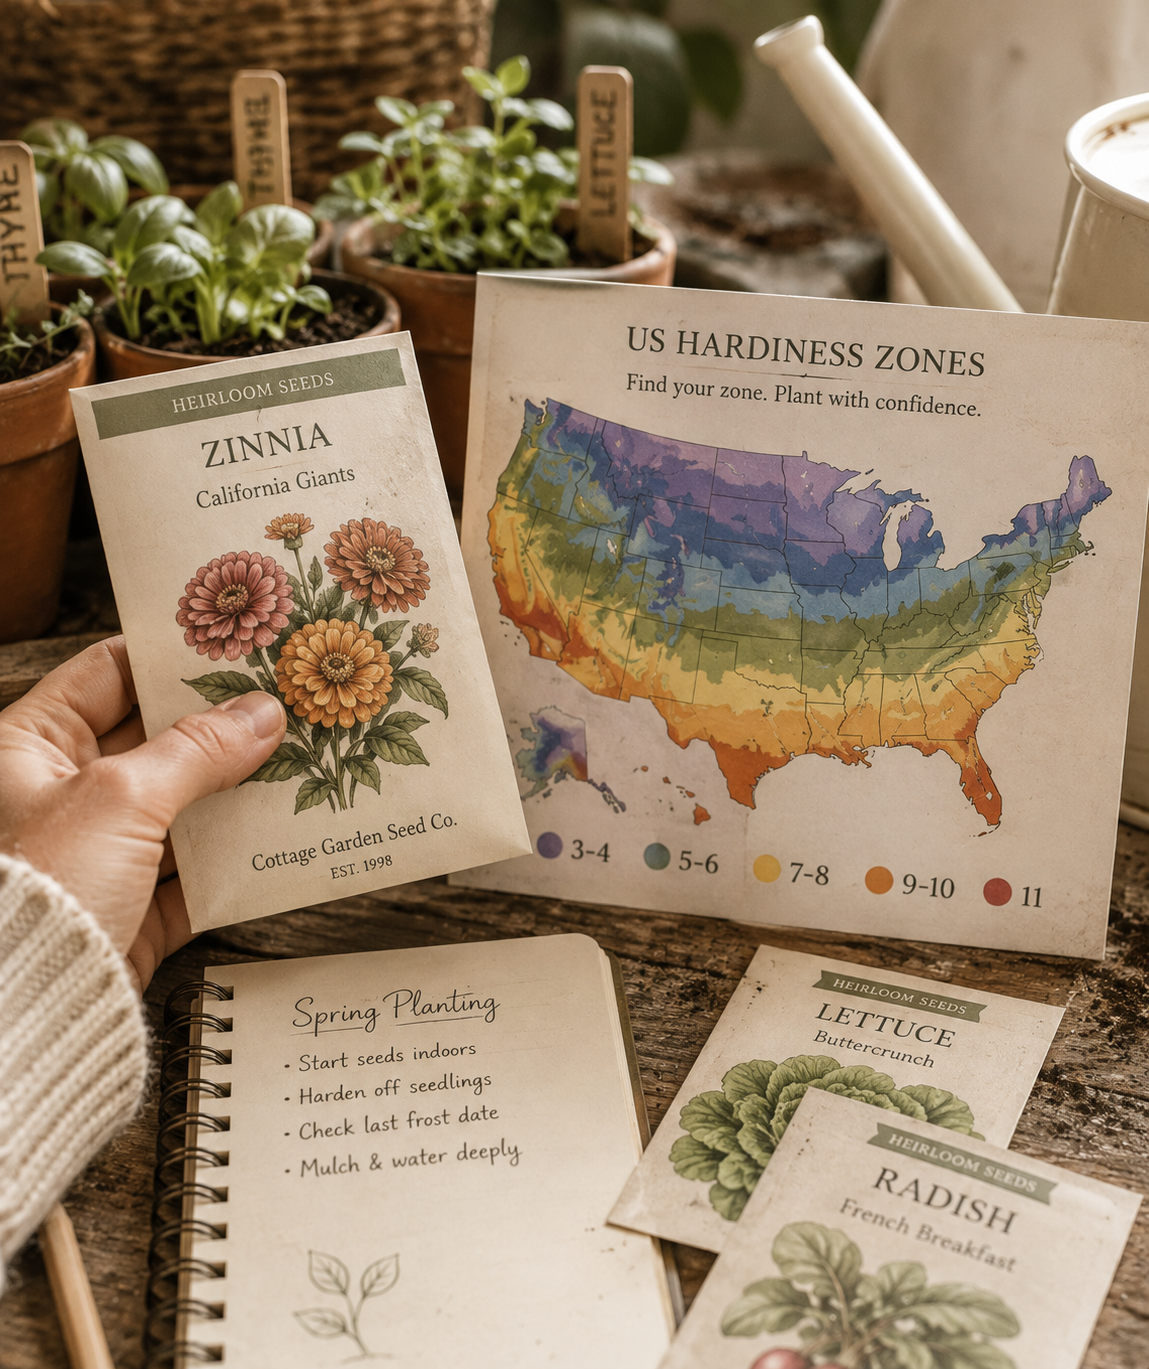
Before you save seed from anything, it's worth understanding this distinction, because it determines whether saving seed is even worthwhile for that particular plant. Open-pollinated varieties, which includes all heirlooms, will reliably grow into the same plant next year if you save and replant their seed properly. That's the whole appeal of seed saving.
Hybrid varieties, often labeled F1 on the seed packet, are a different story. These are the result of deliberately crossing two different parent plants to combine specific traits. Seed saved from a hybrid won't grow true to type next year. Instead, you'll likely get a genetically unpredictable mix of traits from both original parent plants, often less vigorous than the hybrid you actually grew. Check your seed packets or plant tags before you invest time in saving seed from something, since hybrids simply aren't worth the effort for this purpose.
Watch Out for Cross-Pollination
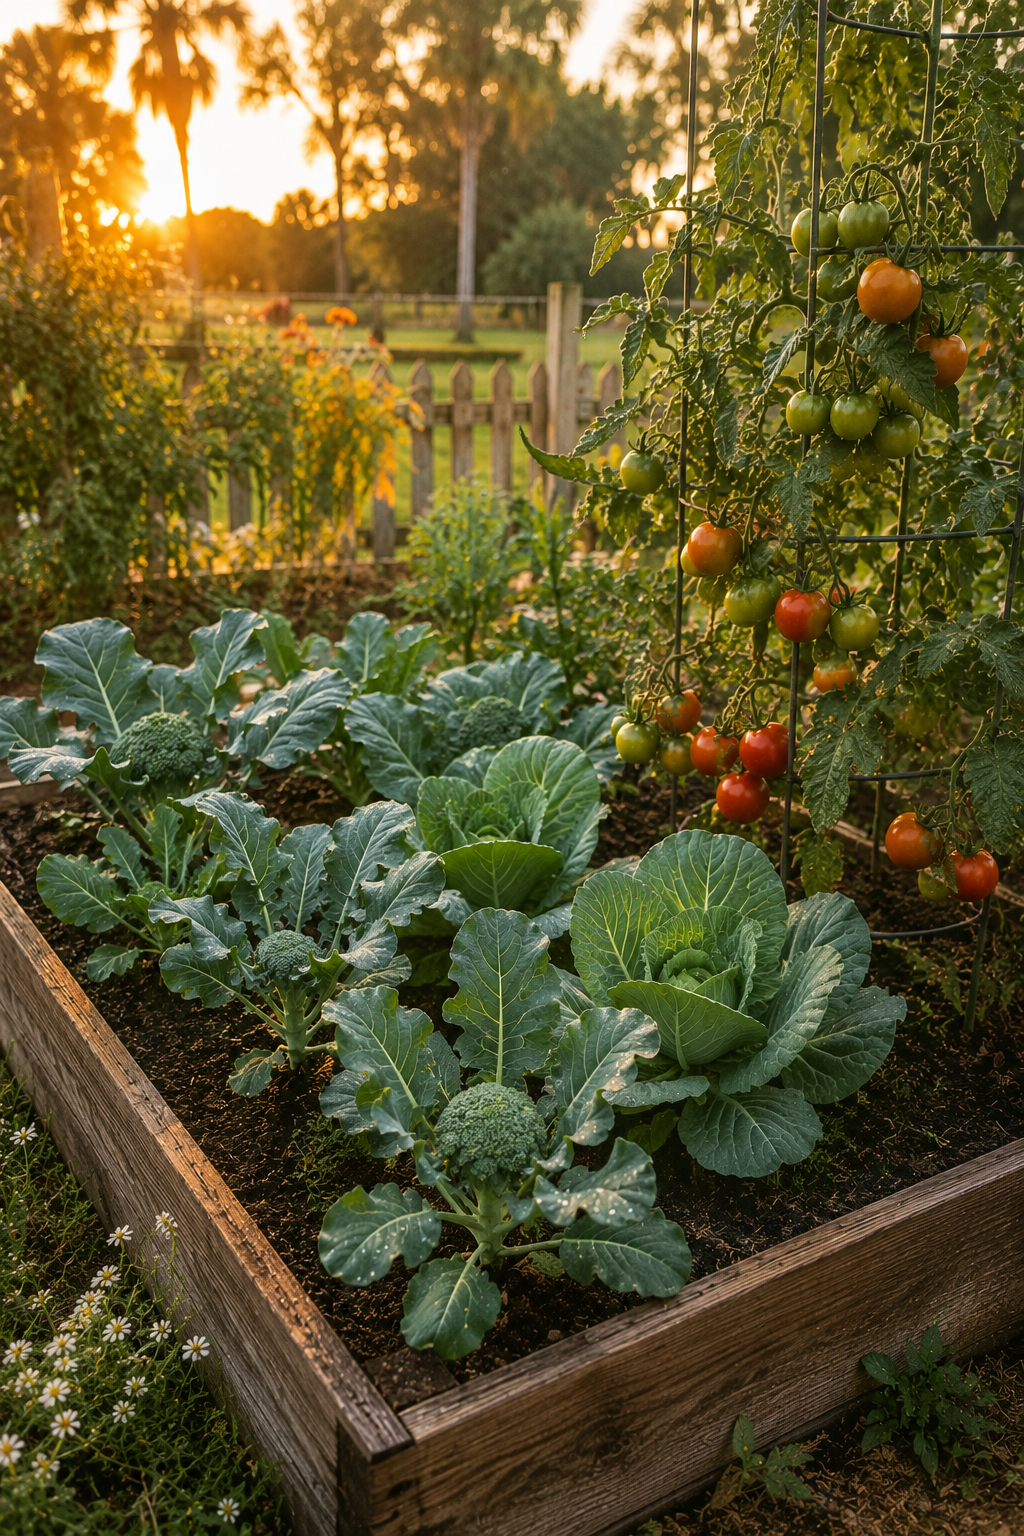
Even among open-pollinated varieties, some crops cross-pollinate easily with other varieties of the same species growing nearby, which can muddy your seed's genetics for next year. Squash, corn, and members of the brassica family like broccoli and cabbage are especially prone to this. Two different broccoli varieties planted near each other, for example, can cross-pollinate and produce seed that's an unpredictable blend of both.
Beans, peas, lettuce, and tomatoes are much more forgiving here since they're primarily self-pollinating, which is another reason they're such a solid choice for a first attempt at seed saving.
Choosing the Best Plants to Save Seed From
Don't just grab seed from the first ripe tomato or bean pod you see. Take a little time to notice which plants in your garden are performing the best all season long. Look for the healthiest, most vigorous plants, the ones that resisted disease, produced the most, and tasted the best. Saving seed specifically from your standout performers is how you gradually improve your own strain of a variety year after year, since you're reinforcing exactly the traits you want more of.
Method 1: The Wet Method (For Tomatoes)
Tomato seeds are coated in a gel-like substance that actually prevents them from germinating too early inside the fruit, so they need a wet processing step before they're ready to save. Cut open a fully ripe tomato and squeeze the pulp, juice, and seeds into a small cup or jar. Add a splash of water, roughly half as much water as you have pulp, and let the mixture sit at room temperature for two to four days, stirring once daily.
This short fermentation period does double duty. It breaks down that gel coating and helps kill off certain seed-borne diseases in the process. You'll know it's working when a thin layer of mold forms on top, which is normal and expected. Good, viable seeds will sink to the bottom of the container, while hollow, non-viable seeds and debris float to the top. Skim off the floating material and mold, then pour the good seeds into a fine mesh strainer and rinse thoroughly under running water.
Method 2: The Dry Method (For Beans, Peas, and Lettuce)
Beans, peas, and similar pod crops are much simpler. Instead of harvesting for eating, let a portion of your pods stay on the plant well past the point you'd normally pick them, until they're fully dry, brown, and brittle, with seeds that rattle inside when you shake the pod. This can take several extra weeks beyond a normal harvest window, so mark a few plants early in the season to leave for seed rather than eating.
Once the pods are dry and brittle, strip them from the plant and spread them out indoors for another two weeks to finish drying completely before shelling out the seeds. Lettuce works similarly, though instead of pods, you're watching for the flower heads to dry and turn fluffy, similar to a dandelion gone to seed, at which point you can simply shake or rub the seed heads over a bowl to release the seeds.
Make Sure Your Seeds Are Completely Dry
Regardless of which method you use, this step is non-negotiable. Any leftover moisture in a saved seed will cause it to mold or rot in storage rather than staying viable until next spring. Spread your cleaned seeds out in a single layer on a paper plate, coffee filter, or screen, somewhere with good airflow out of direct sunlight, and let them air dry for at least one to two weeks before packaging them away.
A properly dried seed should feel hard and brittle, not the least bit soft or pliable.
How to Store Your Saved Seeds
Once fully dry, package your seeds in a paper envelope or small glass jar, and label each one clearly with the variety name and the year you saved it. This step feels obvious in the moment and is astonishingly easy to forget by the time you're planting next spring, so don't skip it.
Store your labeled seeds somewhere cool, dark, and dry, ideally below 50 degrees and below 50 percent humidity. A sealed glass jar kept in the refrigerator, with a small silica gel packet or a few tablespoons of powdered milk wrapped in a tissue tucked inside to absorb excess moisture, is one of the most reliable home storage methods. Just be sure to let a chilled container come back to room temperature before opening it, so condensation doesn't form on your seeds.
How Long Do Saved Seeds Actually Last?
Seed longevity varies quite a bit by type, even under ideal storage conditions. Onion seeds tend to lose viability quickly, often within about a year. Corn and pepper seeds generally last around two years. Beans, peas, and carrots typically hold up for about three years. Tomatoes, beets, and squash are among the longest-lasting, often remaining viable for four to five years when stored properly.
When in doubt, label generously and use your oldest seeds first each planting season.
How to Test Old Seeds Before Planting
If you're not sure whether last year's saved seeds are still good, a simple germination test takes the guesswork out of it. Count out ten seeds from your saved batch, dampen a paper towel, and lay the seeds out in a row across half of it. Fold the other half over the seeds, tuck the whole thing into a plastic bag, and leave it somewhere warm, around 70 degrees, for about a week.
If eight to ten seeds sprout, your batch has strong viability and can be planted at a normal rate. If only five to seven sprout, you can still use the seeds, just sow them a little more thickly than usual to account for the lower success rate. If fewer than five sprout, it's time to let that batch go and start fresh.
Common Mistakes to Avoid
The most common seed-saving mistake is harvesting too early, before the seed has actually finished maturing on the plant, which results in seed that won't germinate reliably. A close second is skipping the drying step or rushing it, which leads to mold and rot in storage. And plenty of beginners accidentally try to save seed from a hybrid variety, only to be confused the next year when the plants don't match what they grew before.
A Simple Seed Saving Checklist
Choose one or two easy, self-pollinating crops for your first attempt, like beans, peas, lettuce, or tomatoes. Confirm the variety is open-pollinated or heirloom, not a hybrid, before you invest the time. Select seed from your healthiest, most productive plants rather than the first ones you notice. Let seed pods or fruit fully mature, well past the normal eating stage, before harvesting for seed. Use the wet method for tomatoes and the dry method for beans, peas, and lettuce. Dry your cleaned seeds thoroughly before storing. Label everything with variety and year, then store in a cool, dark, dry place.
Frequently Asked Questions
Can I save seeds from any vegetable in my garden?
Technically yes, but some are much easier than others for a beginner. Self-pollinating crops like beans, peas, lettuce, and tomatoes are the simplest starting points, while crops prone to cross-pollination or with more complex seed processing, like squash or carrots, are better attempted once you have more experience.
Why won't hybrid seeds grow the same plant next year?
Hybrid, or F1, varieties are created by crossing two different parent plants to combine specific traits. The seed saved from that hybrid carries a genetically unpredictable mix of both original parents, so the next generation often looks and performs quite differently.
How do I know if my saved seeds are dry enough to store?
A fully dry seed should feel hard and brittle, never soft, bendable, or the least bit damp. When in doubt, give your seeds another few days to air dry before packaging them away.
What's the best way to label saved seeds?
At minimum, write the variety name and the year you saved the seed on a paper envelope or piece of tape on your jar. Adding a note about which specific plant it came from can also be helpful if you're tracking traits over multiple seasons.
Do I need any special equipment to save seeds at home?
Not really. A few small jars or paper envelopes, a fine mesh strainer, and something to dry seeds on, like a coffee filter or paper plate, covers almost everything you need for beginner-friendly crops.
Can old seeds still be planted even if some won't germinate?
Yes. A simple germination test tells you roughly what percentage of a batch is still viable, and you can adjust how thickly you sow accordingly, planting a bit more heavily if your germination rate has dropped.
Your Next Step
Pick just one crop from your garden this season, tomatoes or beans are a great place to start, and set aside a few of your best specimens specifically for seed rather than eating. It takes almost no extra effort, and by next spring, you'll be planting a packet of seeds that cost you absolutely nothing and came straight from your own best harvest.
You Might Also Like:

Sources:
How to Save Seeds: A Beginner's Guide to Seed Saving - Growing In The Garden
How to Save Seeds From Your Garden: A Beginner's Guide - Homesteaders of America
Heirloom, Open-Pollinated, Hybrid... What's the Difference? - Hudson Valley Seed
Open-Pollinated vs. Hybrid: An Important Distinction When Saving Seeds - Illinois Extension
How to Tell If Old Seeds Are Still Good Before Planting - Farmers' Almanac
