How to Make Calendula Oil: The Traditional Herbalist Method
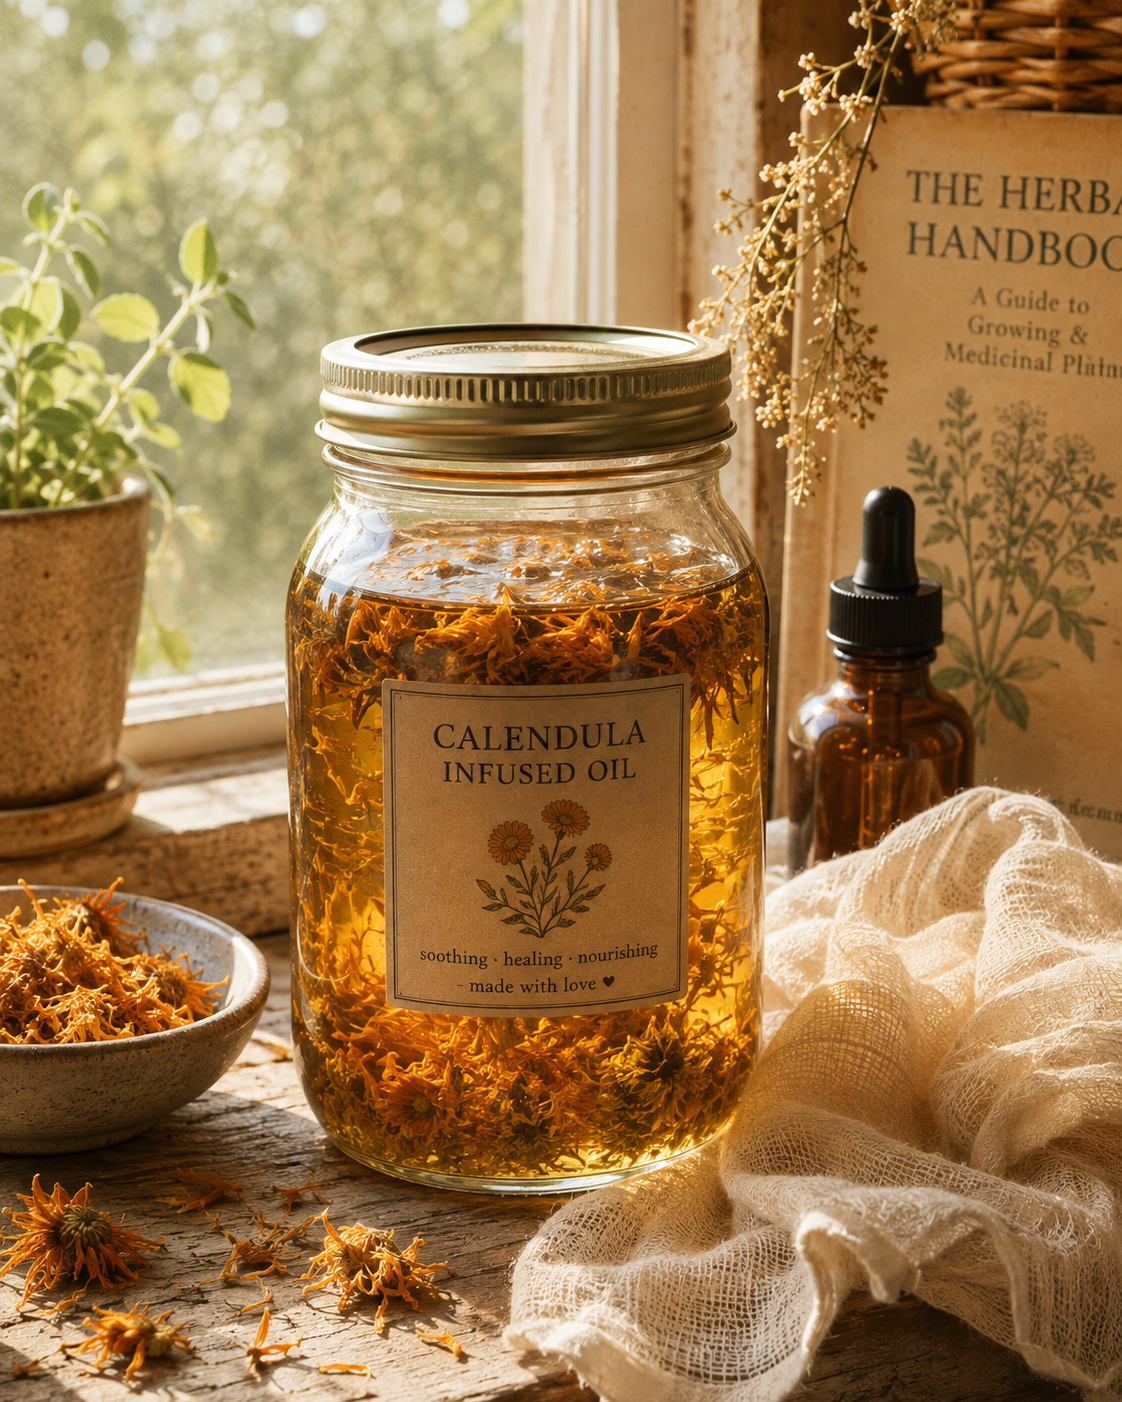
If you followed along with drying your own herbs this season, and especially if you set aside a jar of dried calendula petals like I hoped you would, today is the day we put them to work. Calendula oil is one of the oldest, gentlest remedies in the herbalist's toolkit, and it's also one of the most forgiving projects for a beginner to start with. No special equipment, no complicated ingredients, just dried flowers, a good carrier oil, and a little patience.
This is going to be a longer, more detailed post than usual, because calendula oil deserves to be done right. There are a few places beginners commonly go wrong, and getting the basics right here sets you up for everything that comes after it, from salves to balms to body oils. Let's walk through the whole process together.
What You'll Need
Before we get into the details, here's the short list of what this project actually requires. You'll need dried calendula flowers, a carrier oil of your choice, a clean glass jar with a tight-fitting lid, cheesecloth or muslin for straining, a funnel, and a dark glass storage bottle for the finished oil. A small kitchen scale is helpful if you want to follow the measured method precisely, though it's not required for the folk method.
Nothing here needs to be fancy or expensive. A repurposed mason jar works just as well as anything sold specifically for herbalism, and most of what you need is probably already in your kitchen.
Sourcing Quality Calendula
Where your calendula comes from matters, especially since this oil is going straight onto skin. If you're growing your own, avoid spraying pesticides or synthetic fertilizers anywhere near your calendula bed, since whatever touches the flowers can end up in your finished oil. If you're buying dried calendula rather than growing it yourself, look for organic, food or cosmetic grade flowers from a reputable herb supplier, and check that the listing specifies Calendula officinalis by name rather than simply "marigold."
Whole flower heads generally infuse more richly than pre-crushed petals, since more of the plant's beneficial compounds are concentrated near the base of the flower. If you have a choice, whole dried blooms are worth seeking out.
Calendula Officinalis vs. Ornamental Marigolds (Don't Get This Wrong)
Before you infuse a single jar of oil, it's worth pausing on something a lot of beginners get confused. The calendula used in herbal remedies is Calendula officinalis, sometimes called pot marigold. It's a different plant entirely from the common garden marigolds most people plant for pest control, which belong to the Tagetes genus.
Both plants are in the same larger sunflower family and both have that classic orange and yellow marigold look, which is exactly why they get mixed up so often. But the similarities stop there. Calendula officinalis has a soft, slightly sweet scent, flat, bowl-shaped blooms, and a long history of use for skin healing. Tagetes marigolds have a sharp, pungent smell, and some varieties actually contain compounds that can cause skin irritation when exposed to sunlight.
The takeaway here is simple. Only Calendula officinalis is the herb you want for this project. If you're buying seeds or seedlings, double check the botanical name on the tag rather than trusting the word "marigold" alone, since that word gets used loosely by a lot of nurseries.
Fresh vs. Dried Calendula: Why It Matters More Than You Think
This next part matters for more than just quality. It's actually a safety issue. Fresh plant material contains water, and water does not belong in an oil infusion. When moisture gets trapped in oil, it creates exactly the kind of low-oxygen, damp environment that harmful bacteria, including the one responsible for botulism, can potentially grow in, along with ordinary mold.
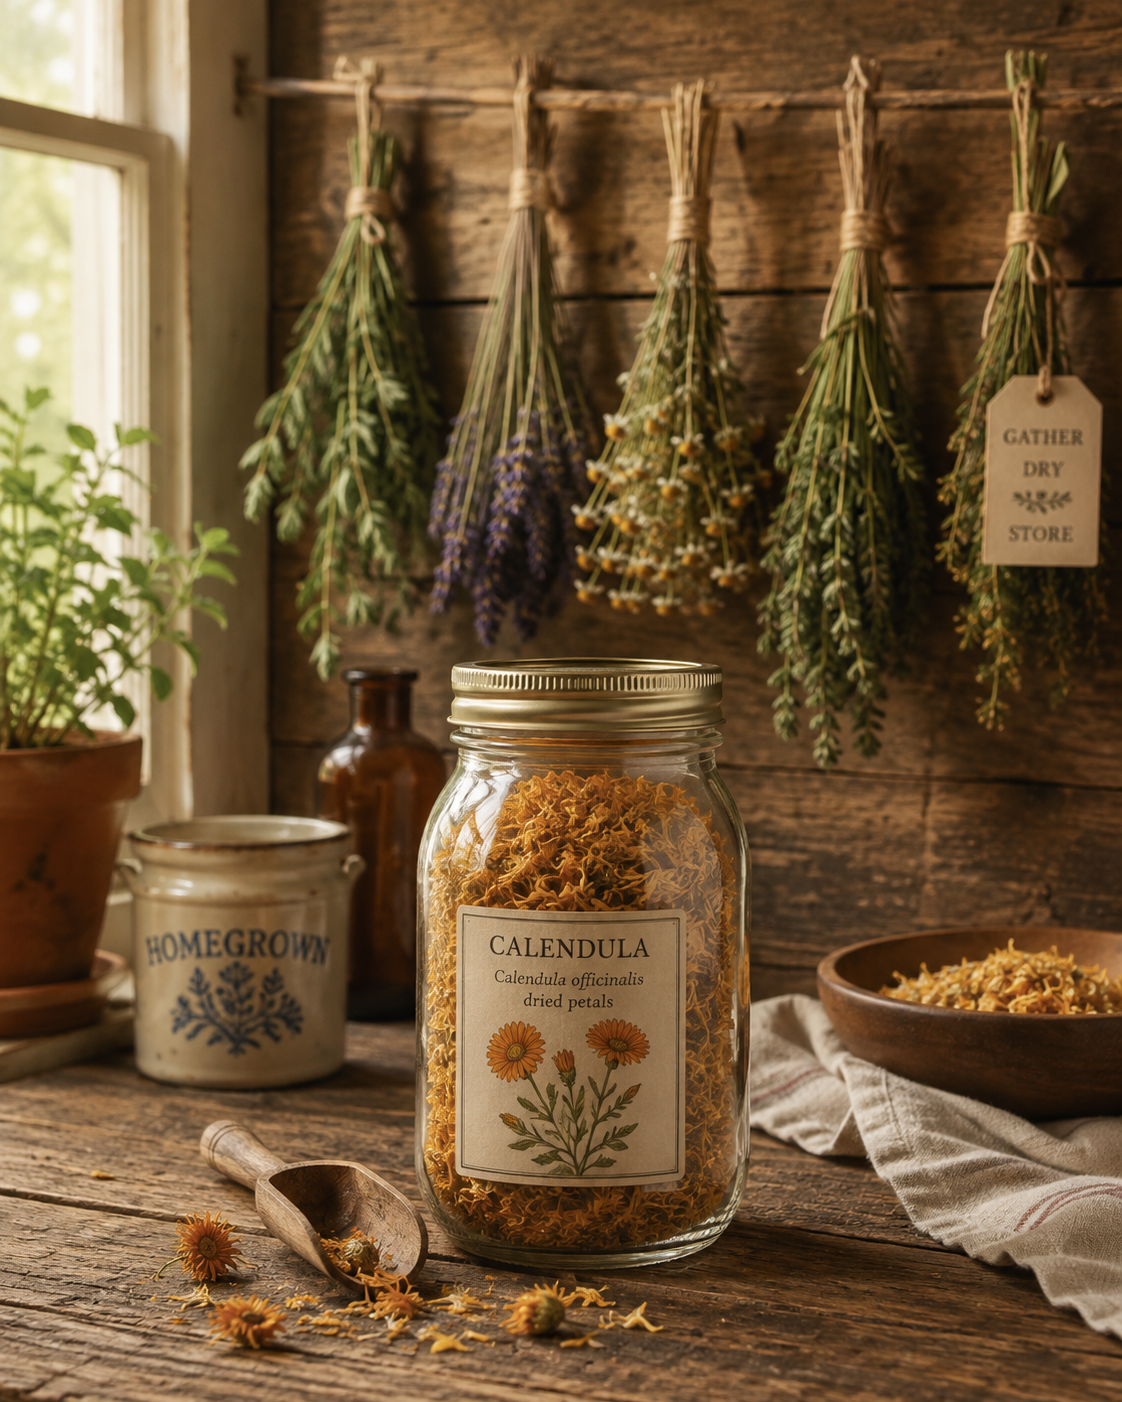
Dried calendula is the safer, more traditional choice for this reason. All the moisture has already been removed, which means there's nothing left for bacteria or mold to use to get started. If you only have fresh calendula on hand, spread the blooms out in a single layer and let them wilt for 24 to 48 hours in a dry spot before using them, which meaningfully reduces the moisture content, though it still won't fully match the safety and shelf stability of properly dried flowers.
If you followed the drying method from our last post, you're already in great shape here. Your dried calendula petals are ready to go straight into an infusion.
Why Moisture Matters (The Short Science Version)
Here's the simple version of what's happening. Oil itself doesn't support bacterial growth well, which is exactly why it's been used to preserve foods and herbs for thousands of years. But introduce even a small amount of water, whether from fresh plant material, a damp jar, or a wet spoon, and you create tiny pockets where bacteria and mold can multiply.
That's why every single step in this process, from drying your calendula to sterilizing your jar, is really about controlling moisture. Keep everything bone dry, and your oil will be both safer and longer lasting.
Choosing Your Carrier Oil
The oil you infuse your calendula into matters just as much as the flowers themselves. A few oils stand out as excellent choices for beginners.
Olive oil is the classic, traditional choice, and for good reason. It's affordable, widely available, nourishing for the skin, and has a solid shelf life of around two years on its own. Its slightly heavier texture makes it a wonderful base for salves.
Sweet almond oil is a lovely all-around option with a silky texture that absorbs beautifully into skin. It has a shorter unopened shelf life of about a year, so it's best for oils you plan to use up within several months.
Jojoba oil is technically a liquid wax rather than a true oil, and its claim to fame is stability. It closely mimics the skin's natural sebum and can last up to five years without going rancid, which makes it an excellent choice if you want your finished infusion to last as long as possible.
Sunflower oil and grapeseed oil are both lighter, more affordable options that work well for body oils and lotions where you want something that absorbs quickly and doesn't feel heavy on skin.
Whichever oil you choose, make sure it's fresh to begin with. Infusing already-old oil won't magically extend its life, and you'll end up with a finished product that goes rancid faster than it should.
The Folk Method (The Traditional Approach)
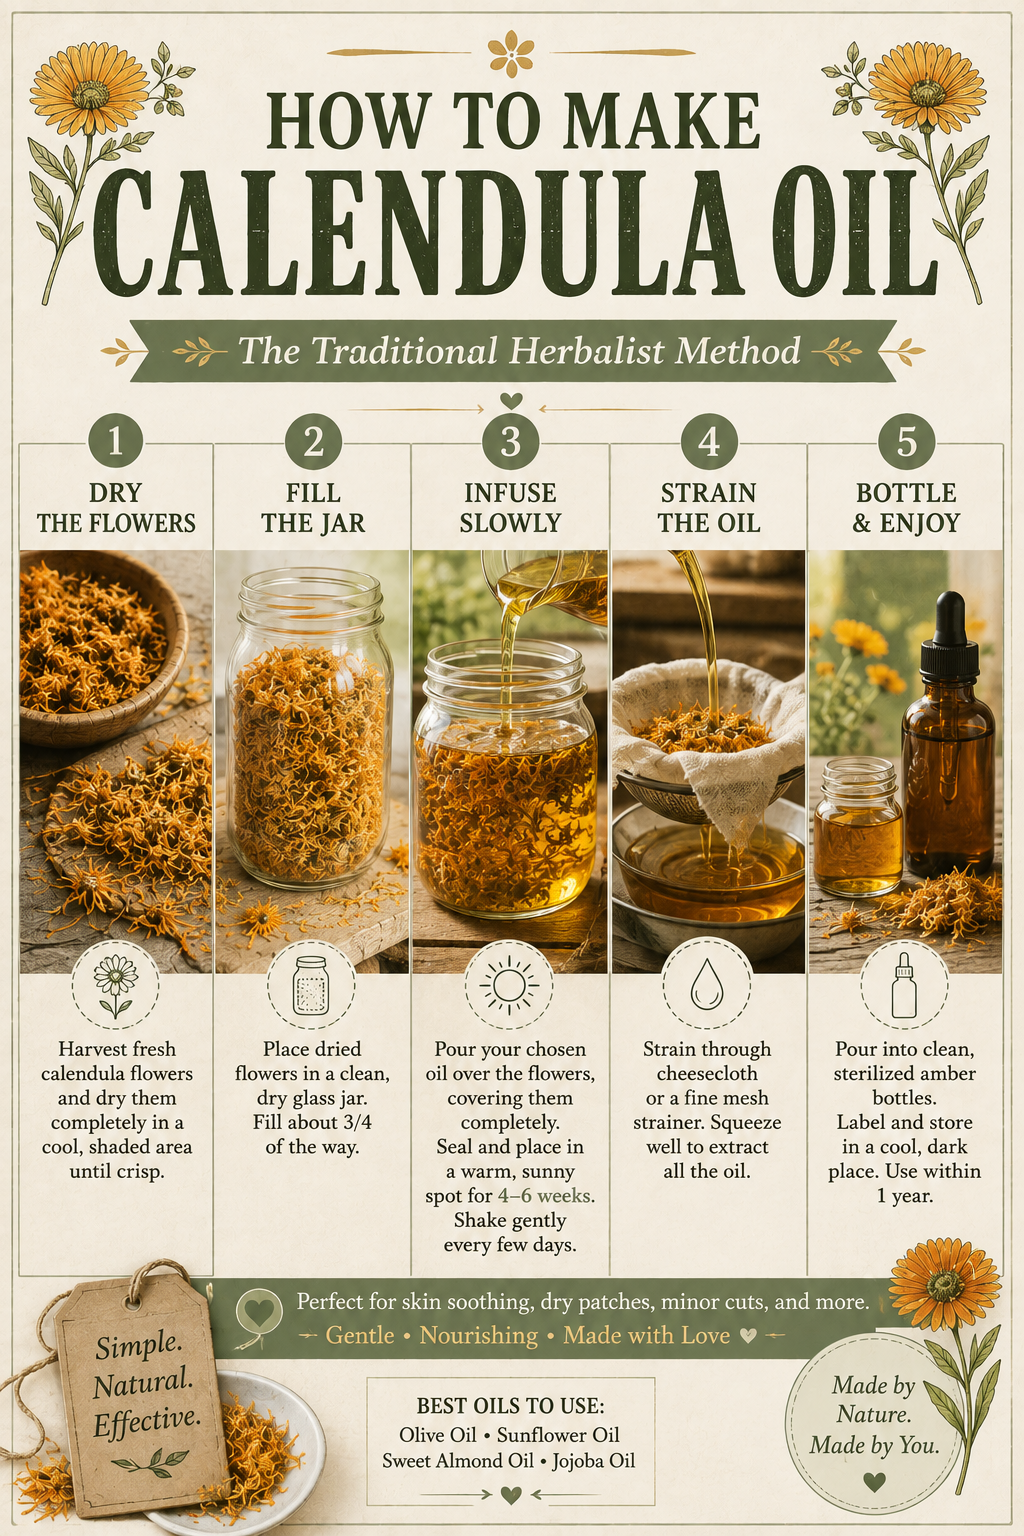
This is the method herbalists have used for generations, and it's wonderfully simple. Fill a clean, completely dry glass jar about halfway with dried calendula flowers, whole heads if possible rather than just petals, since the whole flower carries more of the beneficial compounds. Don't pack the flowers down. Leave them loose so the oil can move freely around them.
Slowly pour your chosen carrier oil over the flowers until they're fully submerged, leaving about an inch of headspace at the top of the jar. Give it a gentle stir with a clean, dry utensil to release any trapped air bubbles, then seal the jar.
Store the jar in a cool, dark cabinet for four to six weeks, giving it a gentle shake every few days to help the infusion along. When the time is up, you'll strain out the flowers, and your oil is ready to use.
The Measured Method (For Consistent Results)
If you'd rather work with precise measurements, especially useful if you want to recreate a batch exactly the same way twice, the measured method is your friend. A reliable general ratio is one part dried calendula flowers to two parts carrier oil by volume. For example, one cup of dried calendula flowers to roughly two cups of oil, though some herbalists prefer a slightly more concentrated one cup of dried flowers to two thirds cup of oil for a stronger infusion.
Combine your measured flowers and oil in a clean jar, following the same submerging and headspace guidelines as the folk method above, then proceed with either the solar or warm infusion approach below.



Solar Infusion vs. Warm Infusion: Which Should You Choose?
Once your flowers and oil are combined, you have two paths forward, and both are traditional, tested methods.
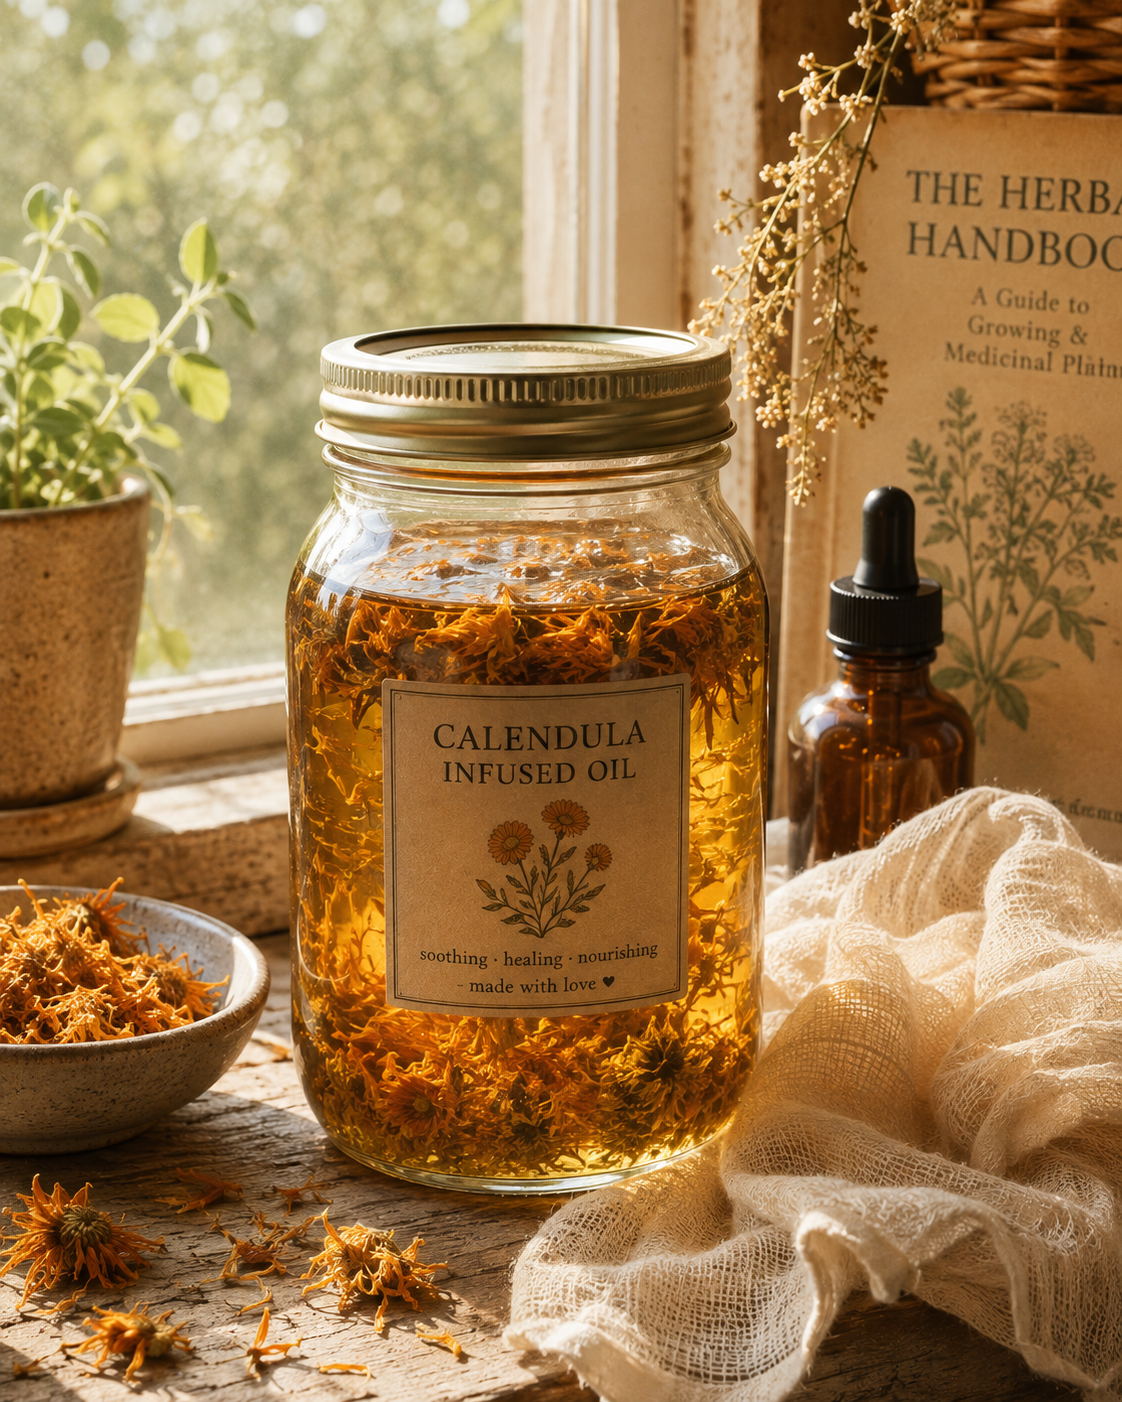
Solar infusion is the slow, old-fashioned approach. Set your sealed jar on a sunny windowsill and let the gentle warmth of the sun coax the plant's beneficial compounds into the oil over four to six weeks. It requires patience and very little else. Some herbalists debate whether direct sun exposure can degrade certain plant compounds over time or slightly increase the odds of condensation forming inside the jar, so if you go this route, check your jar periodically for any sign of moisture and keep shaking it gently to redistribute the oil.
Warm infusion is the faster option, using a double boiler to gently heat your jar of flowers and oil over simmering water for two to three hours, always on the lowest possible heat. This method is ideal if you want your finished oil sooner, or if you're working with tougher, more fibrous plant material that benefits from a little heat to release its properties. The key is low and slow. High heat can damage the delicate compounds you're trying to extract in the first place.
Neither method is wrong. The folk and solar approach leans into tradition and patience, while the measured and warm approach leans into consistency and speed. Try both over time and see which one you enjoy more, or which fits your season of life better.
Straining Your Oil
Once your infusion time is up, it's time to strain. Line a fine mesh strainer or funnel with a few layers of cheesecloth or a clean muslin cloth, and set it over a clean, dry bowl or jar. Pour your infused oil through slowly, letting gravity do the work.
Once most of the oil has drained through, gather the edges of the cloth around the spent flowers and gently squeeze to release the last bit of oil trapped inside the plant material. This final squeeze can yield a surprising amount of extra oil, so don't skip it.
Compost the spent flowers if you can, since they've given you everything they have to offer and make a lovely addition to a garden bed.
Storing Your Calendula Oil
Transfer your strained oil into a clean, completely dry glass bottle or jar, ideally a dark amber or cobalt one if you have it, since light exposure is one of the fastest ways to degrade an infused oil. Store it in a cool, dark cabinet away from direct sunlight and heat sources like the stove.
If you want to stretch your oil's shelf life even further, you can store it in the refrigerator, though it may thicken slightly in the cold. A few drops of vitamin E oil added at bottling time can also help slow down oxidation and extend how long your finished oil stays fresh.
Shelf Life: How Long Will It Last?
Most homemade calendula oil stays good for about six to twelve months when stored properly, though the exact timeline depends heavily on which carrier oil you used. Jojoba-based infusions can last several years thanks to the oil's natural stability, while more delicate oils like sweet almond may only hold up well for six months to a year.
Label your finished jar with the date you made it, so you're never left guessing how old it is later.
Signs Your Oil Has Gone Rancid
Trust your senses here more than the calendar. Rancid oil often develops a cloudy appearance, sometimes with visible droplets of moisture, and it may lose the warm golden-orange color it had when freshly strained. The smell is usually the biggest giveaway. Fresh calendula oil smells mild, herbaceous, and faintly sweet, while rancid oil can smell sour, musty, or oddly like crayons or old paint.
If anything about your oil seems off, whether it's the smell, the appearance, or the texture, it's always safer to discard it and start a fresh batch than to use it and hope for the best.
A Quick Note on Allergies
Calendula belongs to the same plant family as ragweed, daisies, and chrysanthemums, called the Asteraceae family. If you or someone you're making this for has a known sensitivity to plants in that family, do a small patch test on the inside of the forearm before using calendula oil more broadly, and watch for any redness or irritation over the next day.
Traditional Topical Uses of Calendula Oil
Calendula has been used topically for centuries, and it remains one of the most trusted plants in herbal skincare today. It's traditionally reached for on dry, irritated skin, minor cuts and scrapes, bug bites, mild rashes, and diaper irritation. Its gentle, soothing nature is part of why it's such a popular starting herb for beginner herbalists, including for use with children, though as always, it's worth doing your own research and talking with a healthcare provider for anything beyond minor everyday skin care.
Calendula oil isn't a replacement for medical treatment when something is seriously wrong, but as a gentle, traditional support for everyday skin irritation, it's hard to beat.
What You Can Make With Calendula Oil
Once you have a jar of finished calendula oil, a whole world of simple projects opens up. A calendula salve, made by melting your infused oil with a bit of beeswax, turns your oil into a thicker, more portable balm perfect for a diaper bag or purse. A calendula body oil is as simple as bottling your infused oil as is, perhaps with a few drops of a skin-loving essential oil added, for use after a shower or bath. A calendula balm takes things a step further with additional soothing ingredients like shea butter for an even richer texture. And a calendula sugar or salt scrub combines your infused oil with a coarse sugar or salt for a gentle exfoliating treatment that leaves skin soft.
We'll walk through each of these step by step in upcoming posts, so consider this jar of oil the foundation for everything that's coming next.
Don't Want to Make It Yourself?
I get it. Not every season of life has room for jars steeping on the windowsill for six weeks, and that's completely okay. If you'd rather skip the process and go straight to the finished product, that's exactly what's coming soon here at Little House in the Pines. I'm building out a small line of handmade herbal goods, made the same slow, traditional way you're learning about here, so you'll be able to bring the same calendula-infused remedies into your home without doing the infusing yourself. I'll share more details as it gets closer. For now, get on the newsletter list so you're the first to know when it launches.
A Simple Calendula Oil Checklist
Confirm you're working with Calendula officinalis, not ornamental marigolds. Use fully dried flowers, or wilt fresh ones for 24 to 48 hours first, to keep moisture out of your oil. Choose a stable carrier oil like olive, sweet almond, or jojoba based on how long you want your finished oil to last. Pick the folk or measured method depending on whether you prefer tradition or consistency. Infuse using solar or warm infusion, always on low heat if using the warm method. Strain thoroughly through cheesecloth, squeezing out every last drop. Store in a dark glass container in a cool, dark place, and label it with the date. Watch for cloudiness, off smells, or rancid texture, and discard if anything seems wrong.
Frequently Asked Questions
Can I use fresh calendula instead of dried?
You can, but it's riskier. Fresh plant material contains moisture that increases the chance of mold or bacterial growth in your finished oil. If you only have fresh flowers, wilt them for 24 to 48 hours first to reduce moisture before infusing.
How long does calendula oil need to infuse?
The folk and solar methods typically take four to six weeks. The warm, double boiler method can be ready in as little as two to three hours, though some herbalists prefer to let it sit even longer for a stronger infusion.
What's the best oil to use for calendula infusion?
Olive oil is a wonderful all-around choice for beginners, while jojoba oil is the best option if you want your finished oil to last as long as possible.
Is calendula oil safe for babies and young children?
Calendula is traditionally considered gentle enough for use on young children's skin, but as with any new product, it's wise to do a small patch test first and check with your child's pediatrician if you have any concerns, especially for very young infants.
Can I speed up the infusion process?
Yes, the warm double boiler method infuses much faster than the traditional folk or solar method, typically in just a few hours instead of several weeks.
How do I know if my calendula oil has gone bad?
Look for cloudiness, an off or sour smell, or any visible moisture in the jar. When in doubt, it's always safer to discard the batch and start fresh.
What's the difference between calendula oil and calendula salve?
Calendula oil is the infused liquid oil itself. Calendula salve is that same oil melted together with beeswax to create a thicker, more solid balm that's easier to carry and apply.