How to Dry Herbs (A Beginner's Guide to Preserving Your Garden Harvest)
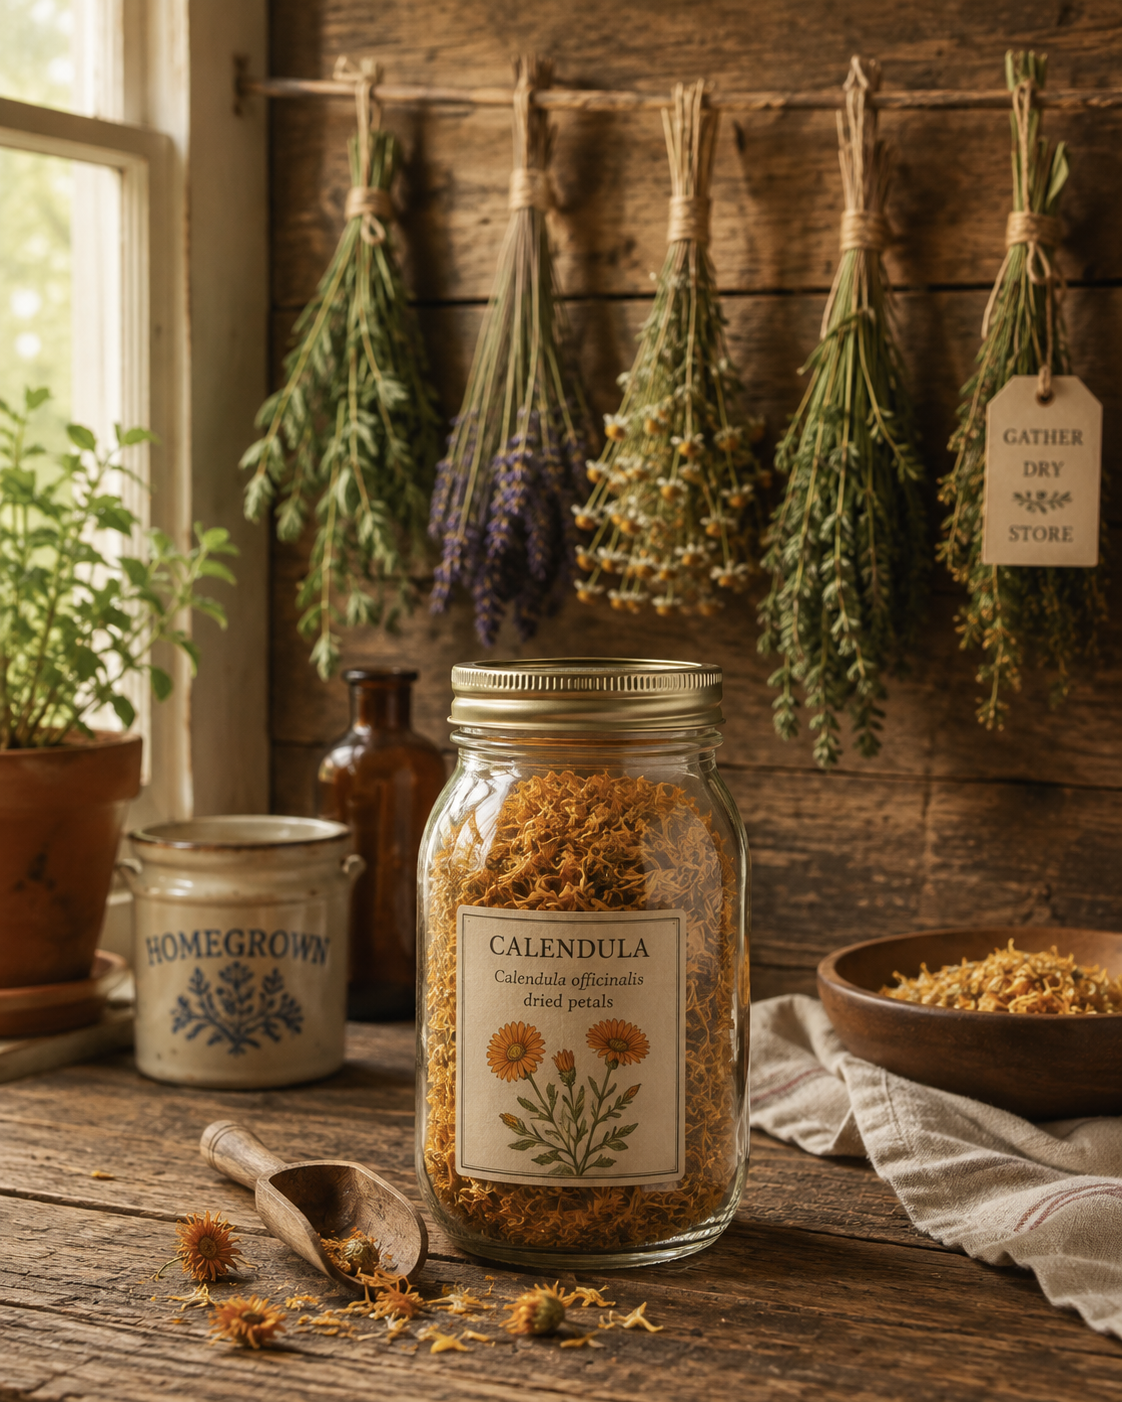
If your herb garden is bursting right now, you already know the problem. One week you can't use basil fast enough, and the next week frost is threatening to take the whole bed. Drying your herbs is one of the simplest, most rewarding skills you can learn as a home gardener, and it turns a few weeks of abundance into a pantry, and eventually a medicine cabinet, that lasts you all year.
This is also where a lot of homesteading journeys quietly shift into something deeper. Learning to dry your own herbs is the first real step toward making your own teas, oils, salves, and remedies at home instead of buying them. If that idea excites you even a little, keep reading, because today we're starting with the basics, and I promise we'll build on this together in the weeks ahead.
Why Dry Your Own Herbs
Drying herbs preserves their flavor and, in many cases, their medicinal properties for months or even years, without needing a freezer or any special equipment. It's also just good stewardship. If God has blessed your garden with more than you can use fresh, drying is a simple way to make sure none of it goes to waste.
There's something deeply satisfying about opening a jar of your own dried oregano in January, or steeping a cup of tea from calendula you grew and dried yourself. It connects you to your food and your home in a way that store-bought jars from the grocery aisle never will.
The Best Herbs to Start With
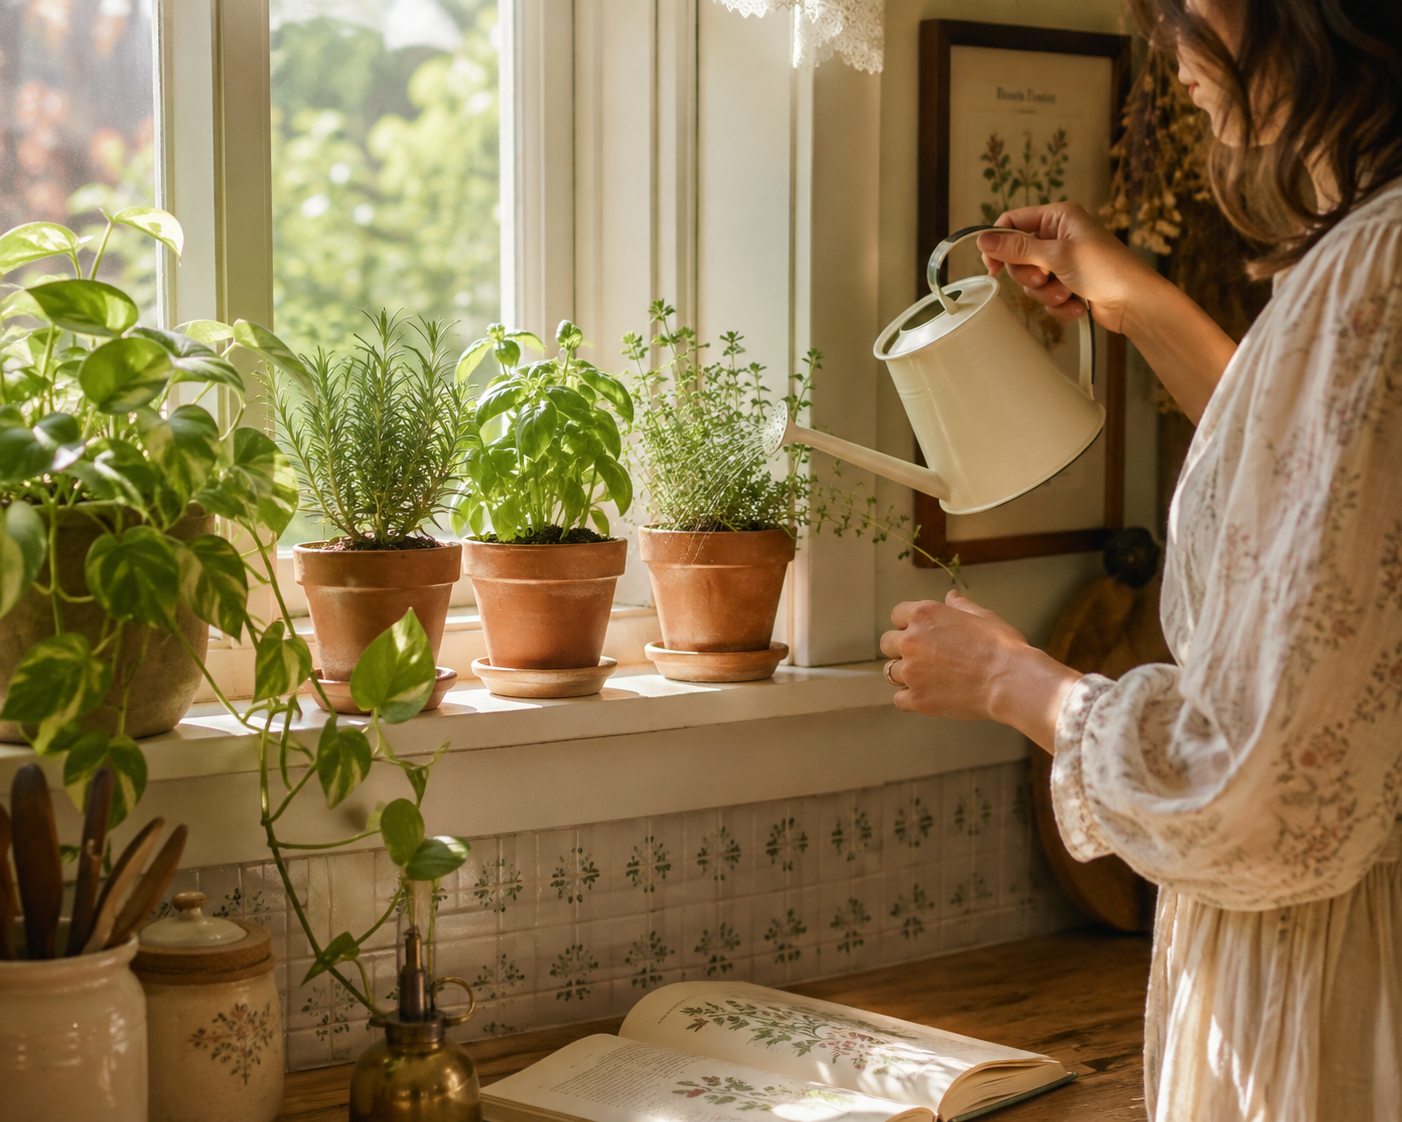
Not all herbs dry the same way, so it helps to know which ones are the most beginner-friendly. Sturdy, lower-moisture herbs like rosemary, thyme, oregano, sage, dill, and bay leaves are the easiest of all. They hold their shape and flavor well and can simply be air dried with almost no fuss.
Tender, high-moisture herbs like basil, mint, lemon balm, and tarragon are a little trickier, since they're more prone to mold if they don't dry quickly enough. These do best in a dehydrator or oven rather than a slow air-dry.
And then there's calendula, which deserves its own spotlight, because it's where a lot of home herbalists fall in love with this whole process.
A Special Note on Calendula
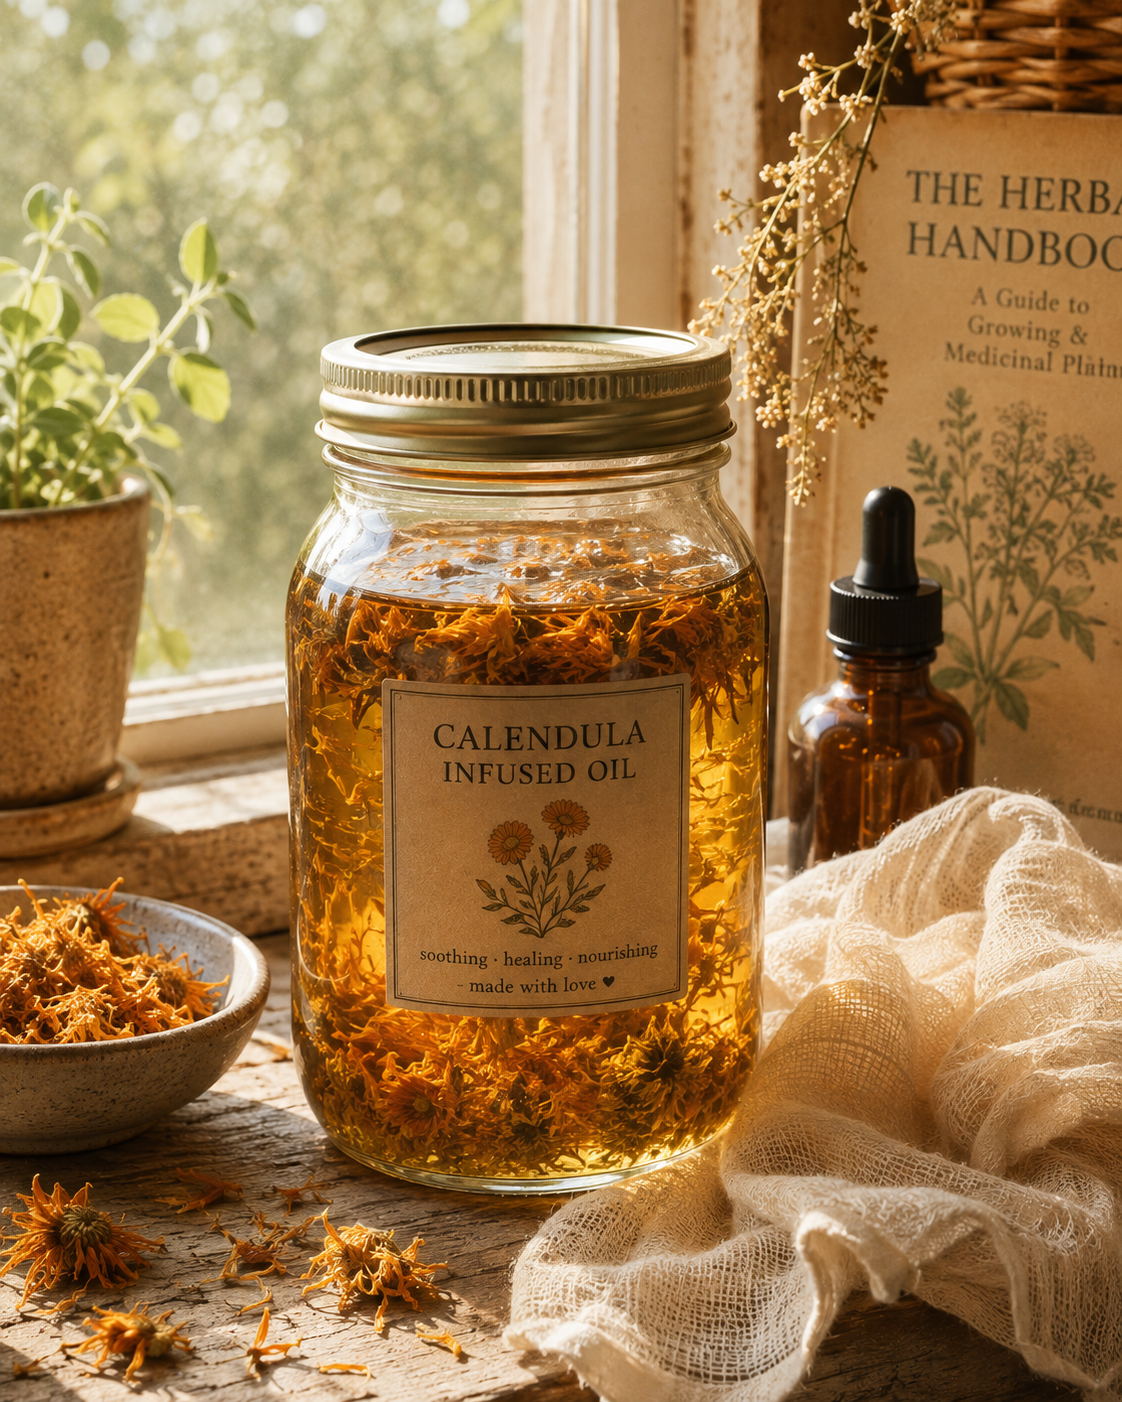
If you've never grown calendula, it's worth adding to your garden next season. This cheerful, easy-to-grow flower isn't just pretty in a bed or a vase. Dried calendula petals are one of the most useful things you can have in a beginner home apothecary, showing up in soothing teas, homemade oils, and healing salves.
Harvest calendula blooms in the morning, once the dew has dried but before the heat of the day, choosing flowers that are fully open with all their petals intact. Snip the whole flower head rather than trying to pick individual petals, since you'll separate the petals later once they're dry.
We'll go much deeper into calendula specifically in an upcoming post, including how to dry it step by step and how to turn those dried petals into a simple homemade oil. For today, just know that if you only dry one thing from your garden this season, calendula is a wonderful place to start.
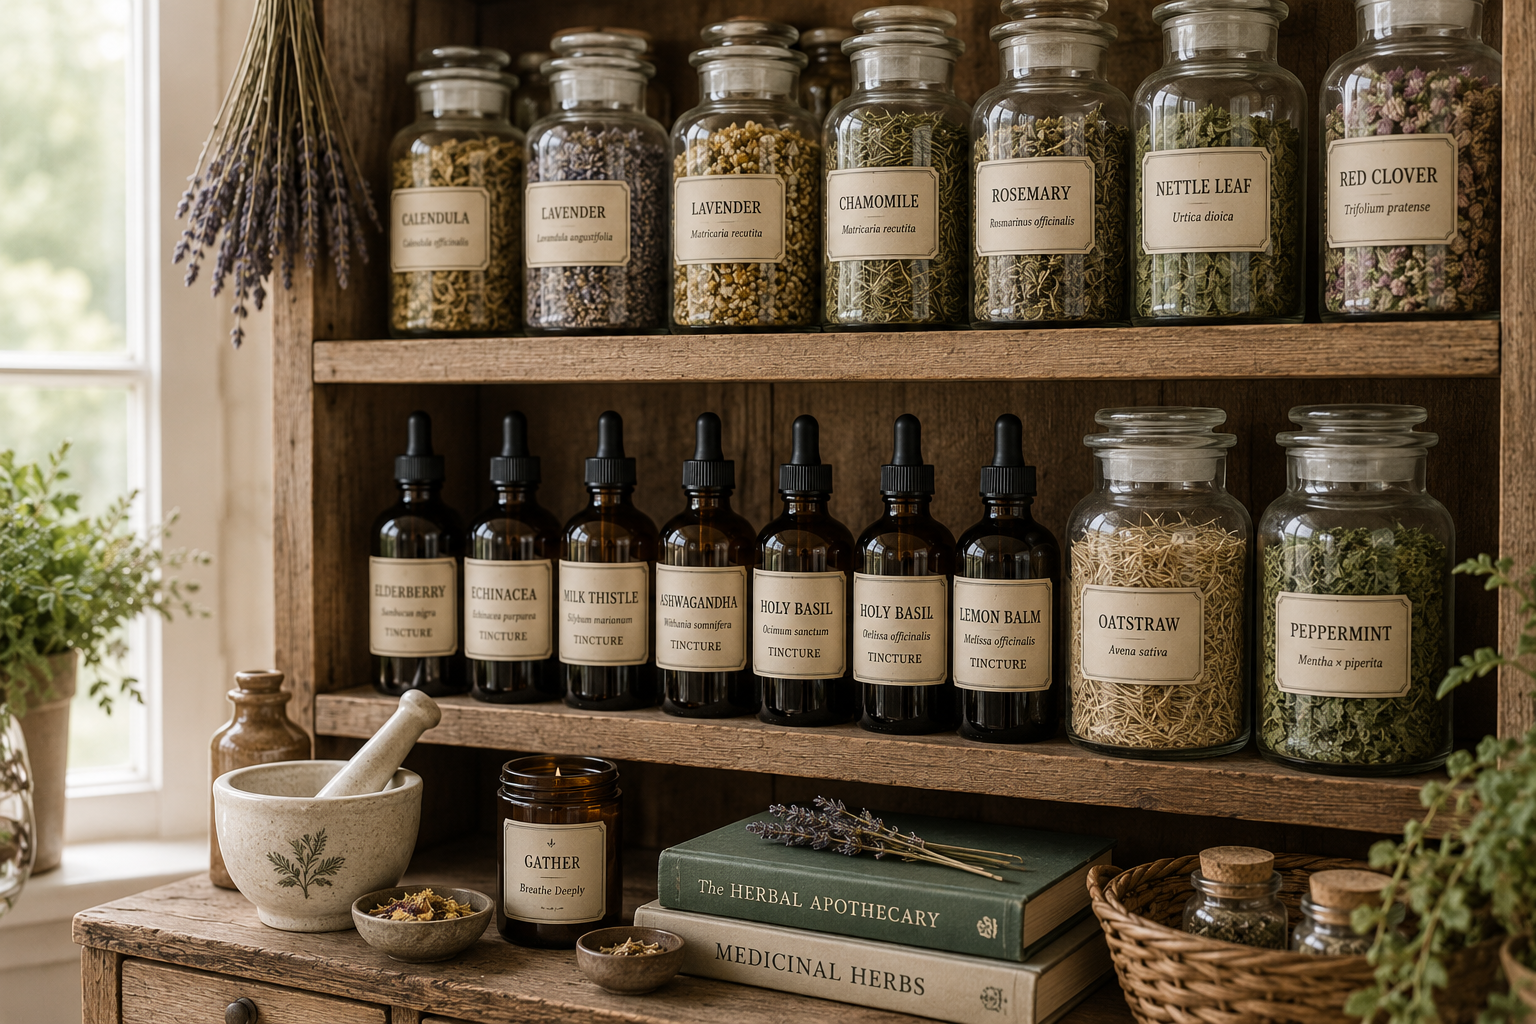



Other Herbs Worth Growing for a Future Apothecary Shelf
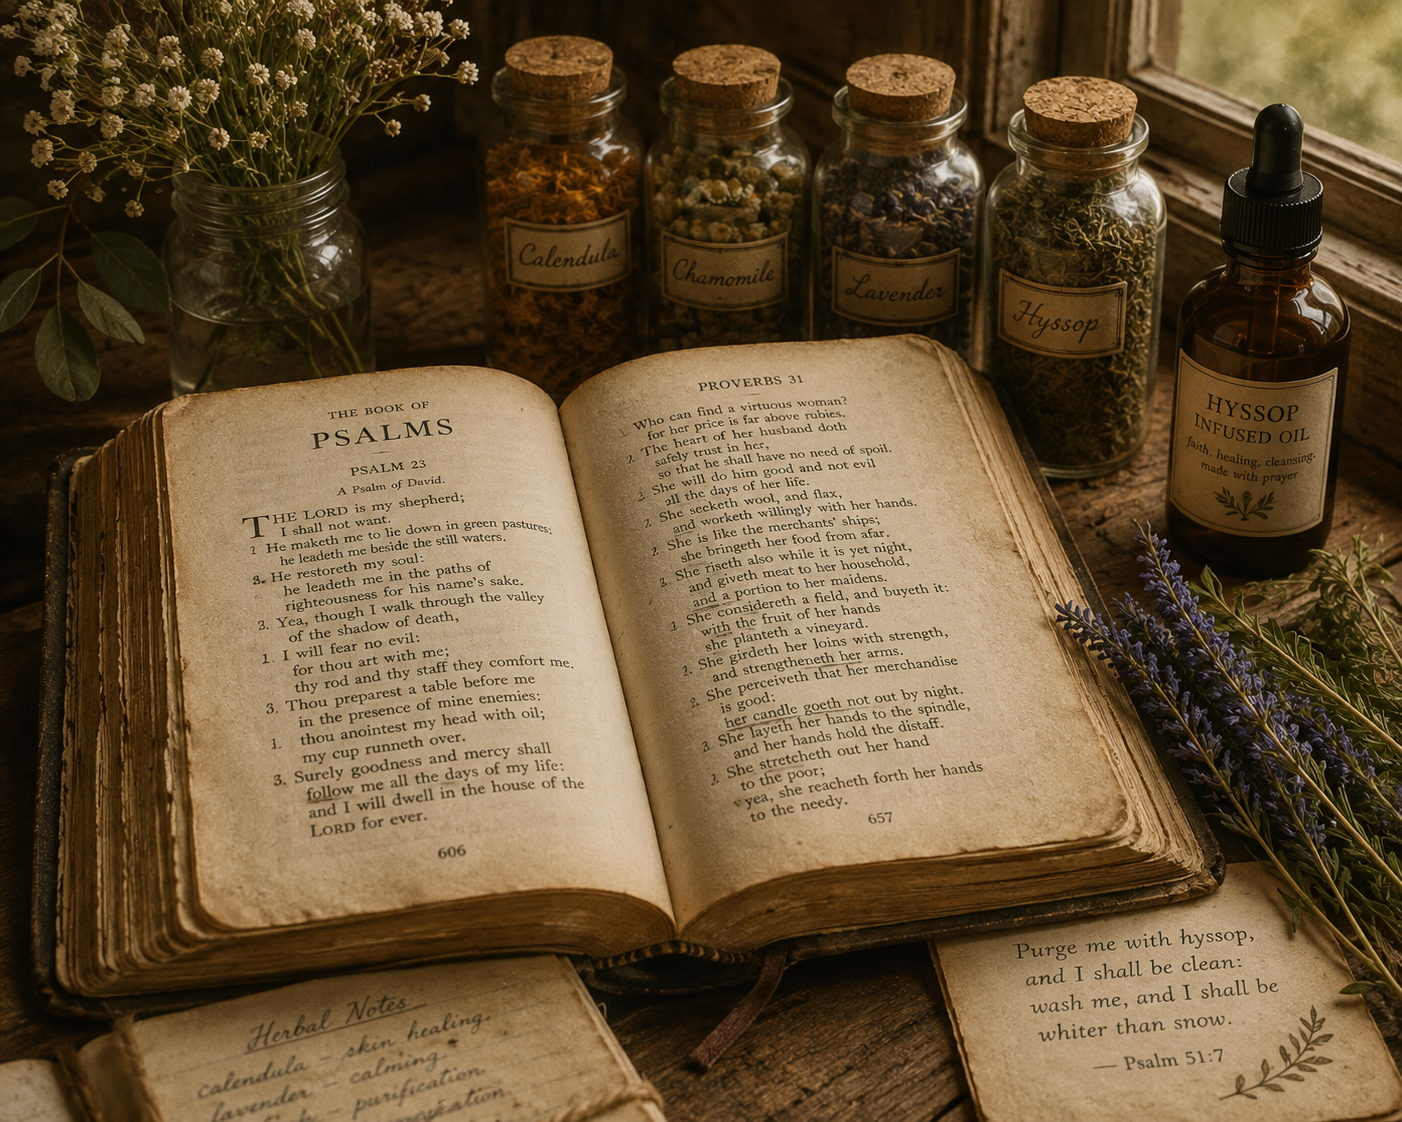
Calendula isn't the only herb worth drying with an eye toward home remedies down the road. Chamomile is another gentle, beginner-friendly flower, wonderful dried for calming teas and known for being soothing to both the stomach and the nerves. Lavender dries beautifully and holds its fragrance for a long time, making it a favorite for sachets, teas, and eventually salves. Peppermint is fast-growing, forgiving, and useful for everything from tea to homemade balms. Plantain, which many people pull as a weed without a second thought, is actually one of the most useful skin-soothing herbs a beginner herbalist can dry and keep on hand.
You don't need to grow all of these at once. Start with what's already thriving in your garden, and let your collection grow one season at a time.
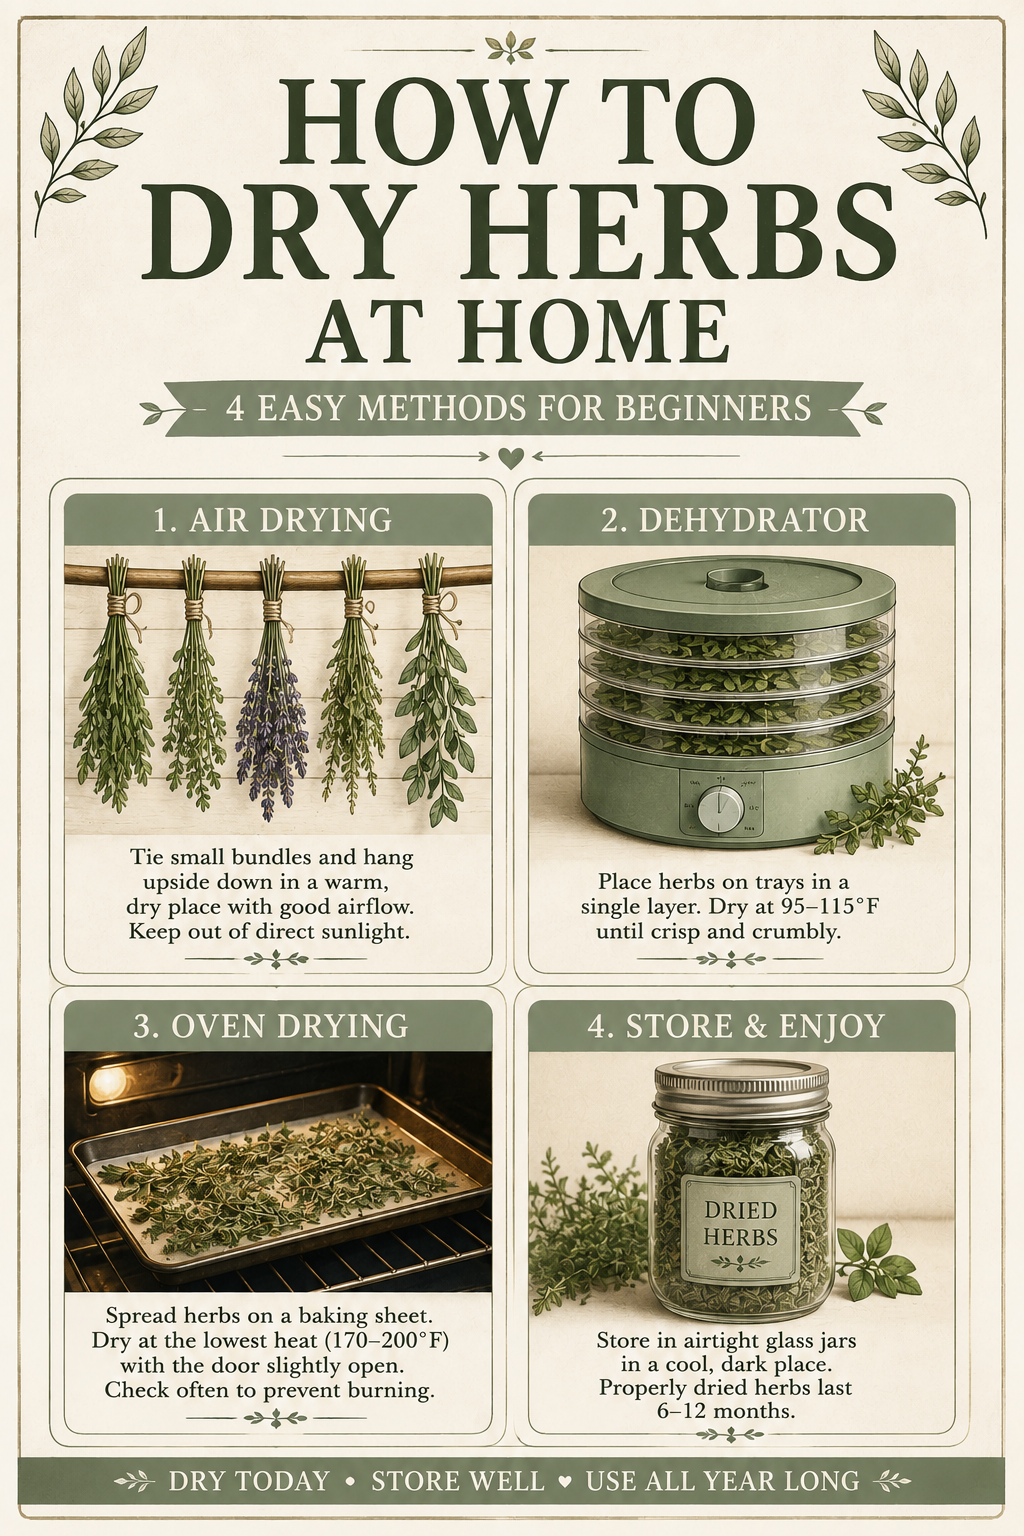
Method 1: Air Drying
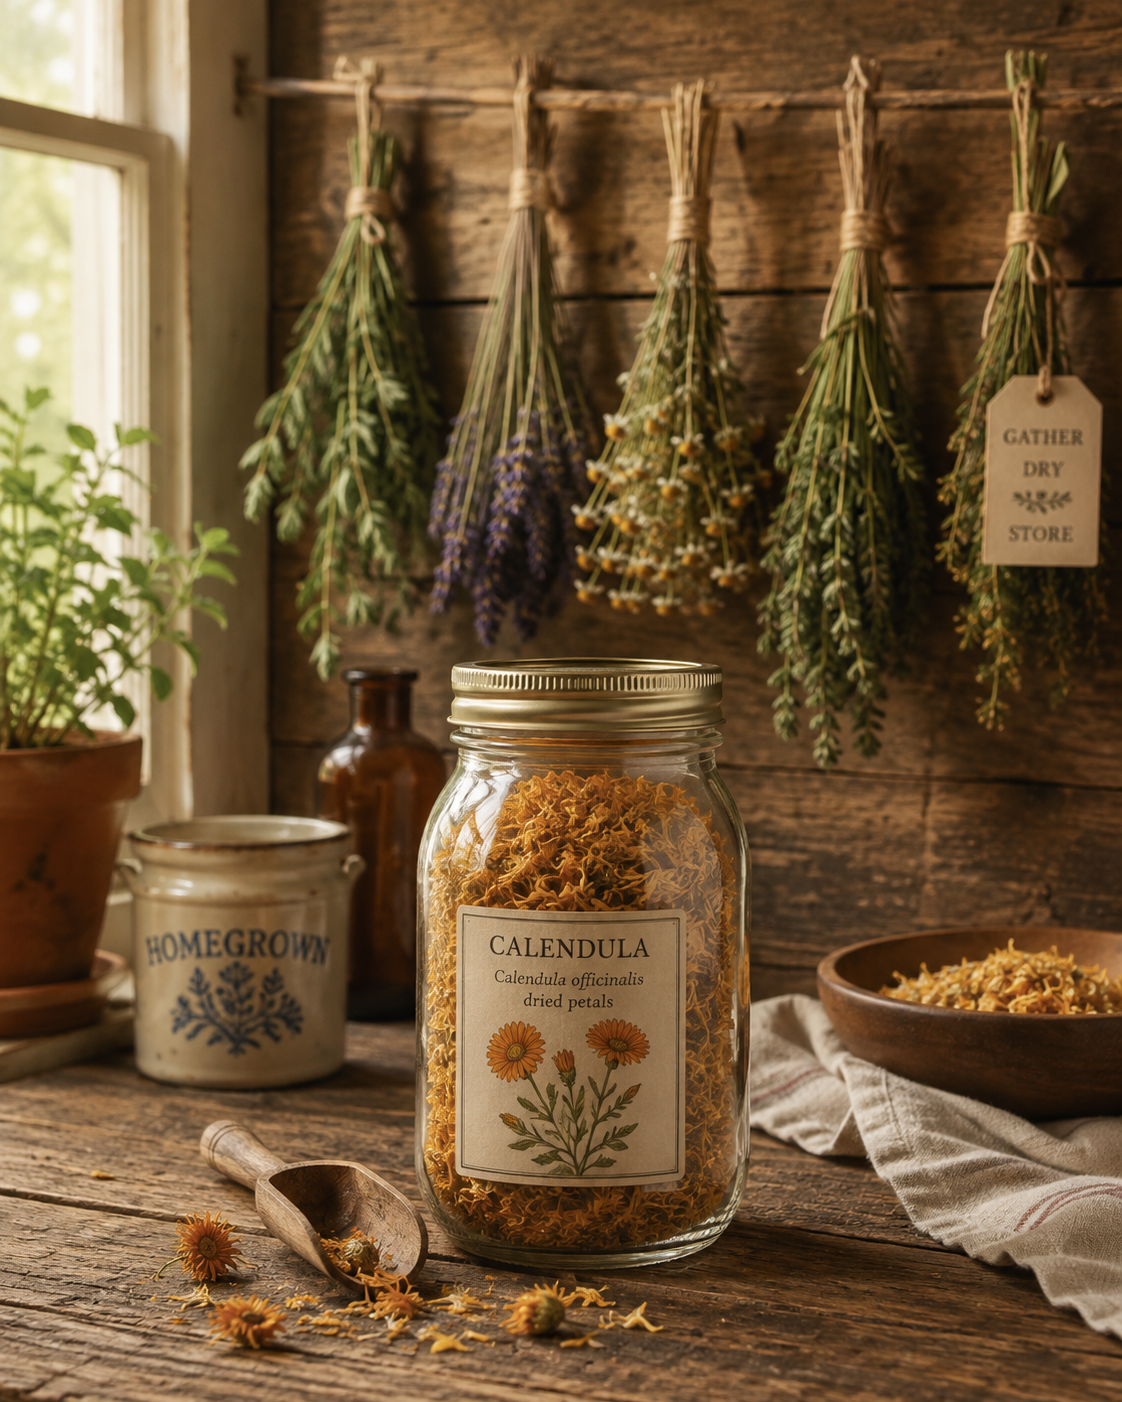
Air drying is the oldest, simplest, and cheapest way to dry herbs, and it's the method most homesteaders reach for first. Start by rinsing your herbs gently to remove any dirt or garden visitors, then pat them completely dry with a towel. Any leftover moisture will slow drying and increase the risk of mold.
Gather small bundles of five or six stems and tie them together at the base with string or a rubber band. Keep the bundles small. A big, thick bundle traps moisture in the center and dries unevenly, sometimes even rotting before it fully dries.
Hang your bundles upside down in a warm, dry, well-ventilated spot out of direct sunlight, since sun exposure can fade both the color and the flavor. A pantry, closet, or covered porch works well. For a little extra protection from dust, slide the bundle into a paper bag with a few holes poked in it before hanging, stems pointing up toward the tied end.
Air drying typically takes one to four weeks, depending on the herb, your humidity, and the airflow in your space. Herbs are ready when the leaves crumble easily between your fingers.
Method 2: Dehydrator Drying
A food dehydrator is the fastest, most consistent way to dry herbs, especially the tender, high-moisture ones. Lay your herbs in a single layer on the dehydrator trays, making sure leaves and stems aren't overlapping.
Set your dehydrator between 95 and 110 degrees. Tender herbs like basil, mint, and parsley do well on the higher end of that range, while woodier herbs like rosemary and thyme prefer the lower end. Most herbs are fully dry within one to four hours, which makes this method wonderful if you're short on time or drying a large harvest all at once.
Check on your herbs periodically and rotate the trays if your dehydrator dries unevenly. They're done when they crumble easily and no longer feel cool or damp to the touch.
Method 3: Oven Drying
If you don't have a dehydrator, your oven can do the job in a pinch. Preheat it to its lowest possible setting, ideally around 170 degrees or lower. Spread your herbs in a single layer on a baking sheet lined with parchment paper.
Prop the oven door open slightly with a wooden spoon to let moisture escape, since a fully closed oven traps steam and can essentially cook your herbs instead of drying them. Check every 15 to 20 minutes, since oven drying happens fast and herbs can go from perfectly dry to scorched in a matter of minutes.
Method 4: Microwave Drying (For Small Batches)
For a very small amount of herbs, the microwave can work in a hurry. Place a single layer of herbs between two paper towels and microwave in 30-second bursts, checking after each one. Most herbs will be dry within one to two minutes total. This method isn't ideal for large harvests, but it's a handy trick when you just need a tablespoon of something dried quickly for tonight's dinner.
How to Know When Herbs Are Fully Dry
Regardless of which method you use, the test is the same. Fully dried herbs should crumble easily when you rub them between your fingers, and the stems should snap rather than bend. If a leaf still feels the least bit soft, pliable, or cool to the touch, it needs more time. Storing herbs before they're completely dry is one of the most common mistakes beginners make, and it's the fastest way to end up with a moldy jar instead of a pantry staple.
How to Store Dried Herbs
Once your herbs are fully dry, strip the leaves or flowers from the stems and store them in airtight glass jars, ideally in a cool, dark cabinet rather than a spot with direct sunlight. Light and heat both break down flavor and potency over time.
Label each jar with the herb name and the date you dried it, since it's easy to lose track of what's what once everything is crumbled and stored. Whole, unground herbs and flowers hold their potency longer than pre-crushed ones, so wait to crumble your herbs finely until you're ready to actually use them.
Most dried herbs stay flavorful for one to two years when stored properly, though sturdier herbs like rosemary, sage, and thyme can last even longer. Delicate ones like dill, parsley, and cilantro tend to fade faster, so try to use those within the first year.
Common Mistakes to Avoid
Drying herbs is simple, but a few small mistakes can ruin a whole batch. Skipping the rinse and dry step before bundling can trap dirt or moisture inside your herbs. Making bundles too large slows drying and invites mold in the center. Drying in direct sunlight fades color and weakens flavor. And storing herbs even slightly before they're fully dry is the single fastest way to end up with a jar of mold instead of a jar of oregano.
What's Next on This Journey
Drying your own herbs is a small, humble skill, but it's also the first real step into home herbalism. Once you're comfortable drying herbs like calendula, you're only a few steps away from infusing your own oils, making a simple healing salve, and building out a beginner home apothecary shelf of your own.
I'm building out that whole series here on the blog over the coming weeks, starting with calendula specifically, since it's one of the gentlest and most useful herbs for a beginner to work with. If you want to follow along as we build this together, from garden to dried herb to finished remedy, get on the newsletter list below so you don't miss a step.
A Simple Herb Drying Checklist
Harvest herbs in the morning after the dew dries but before the heat of the day. Rinse gently and pat completely dry before bundling or laying out. Keep air-dry bundles small for even drying. Choose your method based on the herb: air dry sturdy herbs, dehydrate or oven-dry tender ones. Test for full dryness by crumbling a leaf between your fingers. Store in airtight glass jars, labeled and dated, away from light and heat.
Frequently Asked Questions
How long does it take to air dry herbs?
Most herbs take one to four weeks to fully air dry, depending on humidity, airflow, and the specific herb. Thicker, woodier herbs generally take longer than delicate leafy ones.
Can I dry herbs in a dehydrator without special settings?
Yes, most home dehydrators work well for herbs between 95 and 110 degrees. Check your specific model's manual for a herb or low-heat setting if it has one.
Do dried herbs lose their medicinal properties?
Some potency naturally fades over time, which is why storage matters so much. Proper drying and storage in a cool, dark place helps herbs retain far more of their benefits than leaving them exposed to light and air.
Why did my herbs turn moldy instead of drying?
This almost always means too much moisture was trapped, either from skipping the rinse-and-dry step, bundling too many stems together, or storing herbs before they were fully dry.
Can I dry flowers the same way I dry leafy herbs?
Yes, flowers like calendula and chamomile dry using the same basic methods as leafy herbs, though they often do best laid flat rather than bundled, since delicate petals can crush easily.
What's the best herb for a beginner to start with?
Rosemary, oregano, and thyme are wonderfully forgiving for a first attempt, since they're sturdy and hard to mess up. If you want to start building toward home remedies, calendula is a beautiful next step.
You Might Also Like:
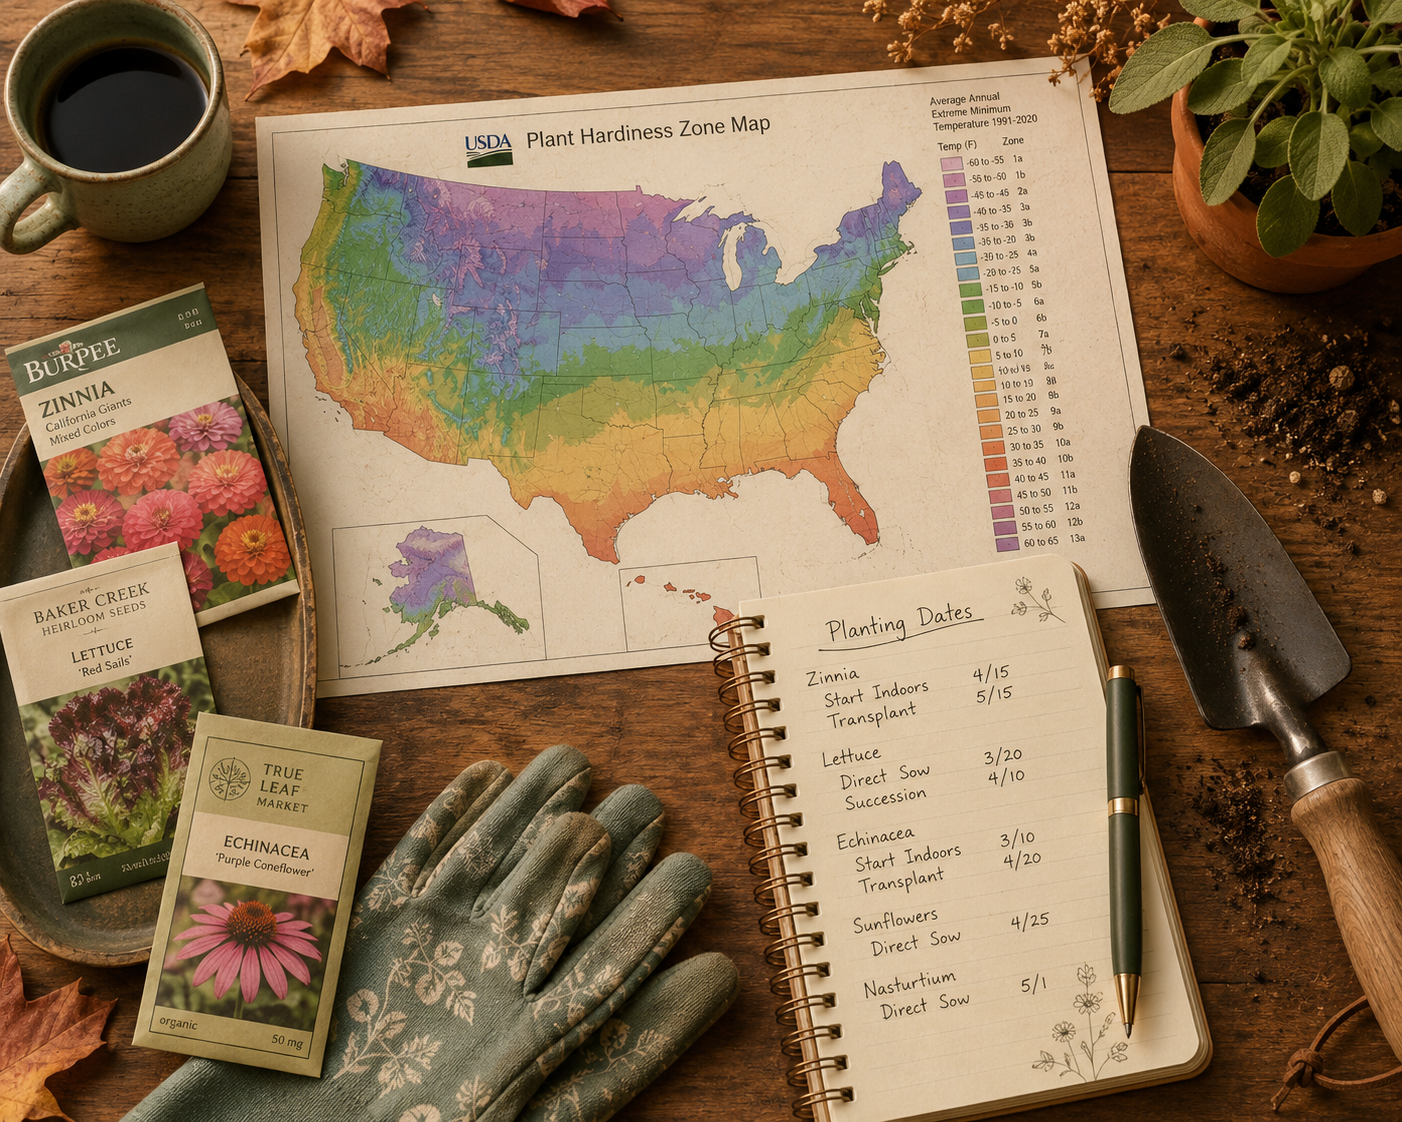
What Is a Hardiness Zone and Why Does It Actually Matter for Your Garden?
Why I Believe Every Christian Home Should Have Something Growing in It
Why Every Christian Woman Should Learn at Least Three Homestead Skills
What to Plant in September 2026 (The Complete Zone-by-Zone Guide)
What to Plant in a Zone 8a Garden in September (Southeast Texas)
How to Can Tomatoes at Home (A Safe Water Bath Canning Guide)